I get really good at doing multi-day cooking projects when I’m procrastinating, like this soy bean okra tempeh. Hence why I wanted to use up the tempeh starter I’d ordered from Cultures for Health, plus the organic soybeans I’d gotten from…somewhere (that’s how long they were sitting in my shelves not getting made into tempeh). It started with the tempeh, but it takes hours to remove the skins individually, which is the secret to great tempeh. The easy way to grind the beans, but I don’t have a food processor. So the really easy way is to use the leftover mash from making soy milk and ferment that into tempeh. No skin removal, no extra boiling or steaming the beans. Except I don’t drink soy milk, which can be difficult to digest, so I figured I’d make the soy milk into soy yogurt with the last of my dairy-free yogurt starter while I was at it. Basically, after killing my gluten-free sourdough starter, and dehydrating my water kefir grains, this was a fermentation spring cleaning of my fridge.
Homemade Soy Milk
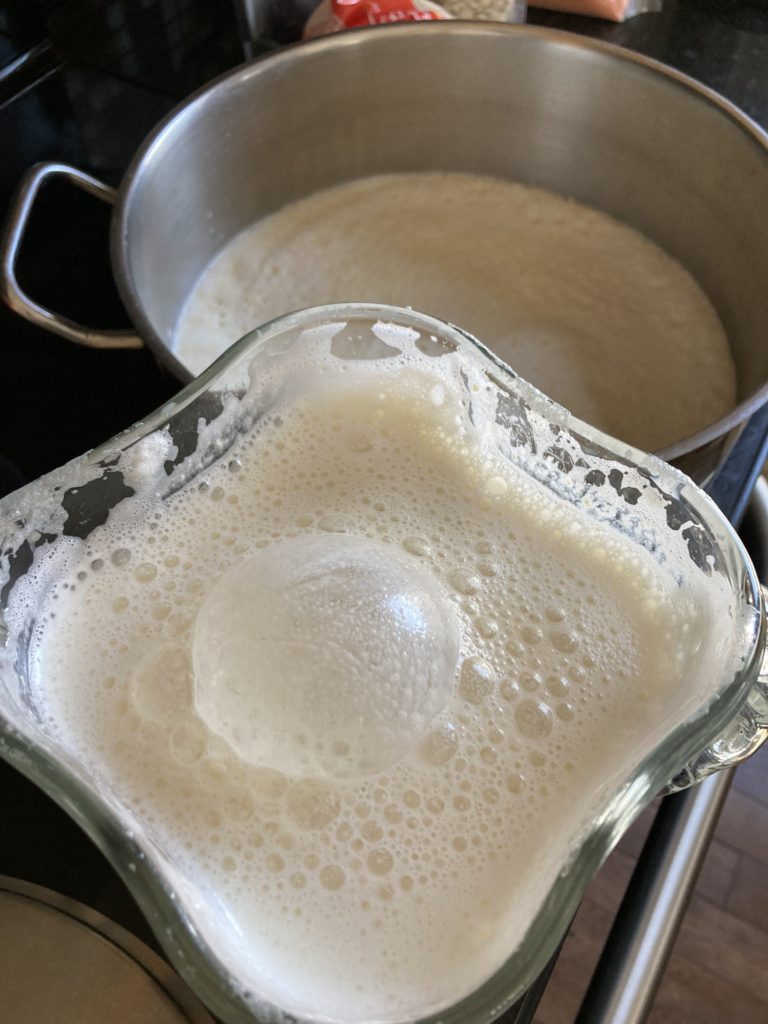
I have a couple fermentation books, but for the soy milk recipe I conferred between a bunch of internet soy milk recipes (also this one) and videos and the books to make sure I’d be boiling the beans long enough. I needed them to simmer at a 100˚C for 20 minutes. I mostly followed the Andrea Nguyen Epicurious recipe, because (1) I love Andrea Nguyen’s recipes, and (2) it let me boil the whole bean after blending it, so I didn’t need to remove the skins, and I didn’t need to strain it before cooking, which didn’t make sense for making okra because I wanted the mash to be cooked too. But the cooking time and temperature I got from Cultures for Health. Done. As long as you have a blender and cheesecloth, you can easily make soy milk. I guess you also need a bit of patience to let the mash cool before you squeeze it through the cheesecloth. My hands are always cold, but even I got a bit impatient and ended up scalding my hands a couple times.
A cooking thermometer is also very helpful for boiling the beans at the right temp, but not essential. We all know that 100˚C is the temperature that waters boils at, so basically you just need to see some bubbles forming to know it’s at a good simmer, and not let the soy milk boil over. I was surprised at when I’d reached the temperature, though (it was far from a noticeable boil), and you do want to make sure it cooks hot enough and long enough, so use a thermometer if you can, for the first time you make this at least.

Homemade Soy Yogurt
Soy yogurt is a little trickier, but also very doable if you have a dehydrator, yogurt maker, or Instant Pot. Once I had that hot soy milk, I jut had to let it cool to the right temperature on my yogurt culture package (instant thermometer is key). Then you stir in the culture and put it in a humid area at the recommended temperature for 6 to 8 hours, I believe. For this one I used the recipe in my new favourite fermentation cookbook (from which the okra inspiration also came), but skipped all the thickeners. My soy milk was plenty thick without them. There are also lots of recipes online. I also conferred with Cultures for Health’s website. If you’re using a commercial soy or almond milk to make your soy milk yogurt, then you probably don’t need to add a thickener (unless you like it REALLY thick), because brands like Almond Breeze and Silk Soymilk have thickeners in them already.
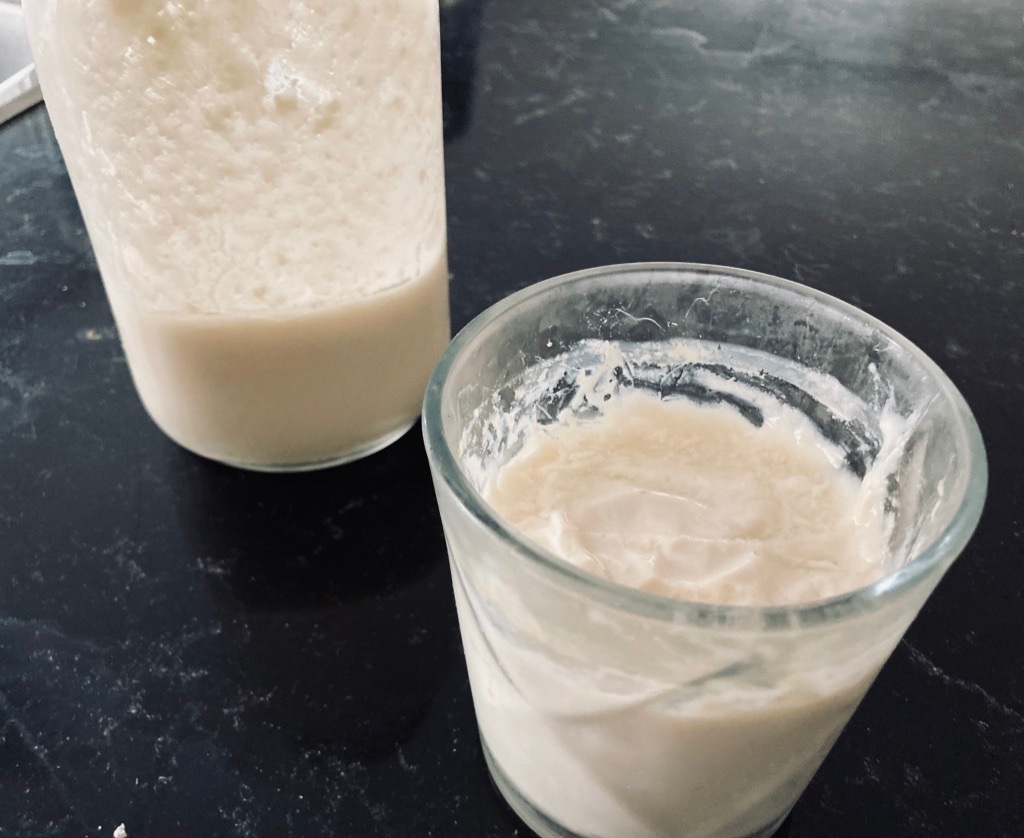
But one important note is that the temperature for the culturing is really importing. I didn’t have enough space in my dehydrator to make the whole batch of yogurt at once, so I put half in in small cups and bowls and left the rest in a big bowl on top of the dehydrator, which I covered with a big blanket to keep the heat and humidity from dissipating at the sides. I also put a small ramekin of water inside for extra humidity since my kitchen was cooler and more dry than I wanted. The big bowl also ended getting moved around to a warm oven, then on top of the oven, and then back on top of the dehydrator, trying to keep it at the right temperature. If the temp is too high, the culture will die. Too low and it won’t ferment. Once batch 1 was done in the dehydrator, I put the large bowl in to finish.
What a difference! The first batch was sweet and thick and smooth, while the second batch was clumpy and a little sour. I’ve been eating both and they’re both fine, but that first batch is lovely. It’s a little chalky just because it’s soy, but it’s much milder and subtly umami. I even liked the film that developed on top, like a thick spread for (gluten-free) toast. Higher protein, I figure? The big takeaway for successful dairy-free yogurt: consistent heat at the right temperature.

Homemade Okara Tempeh
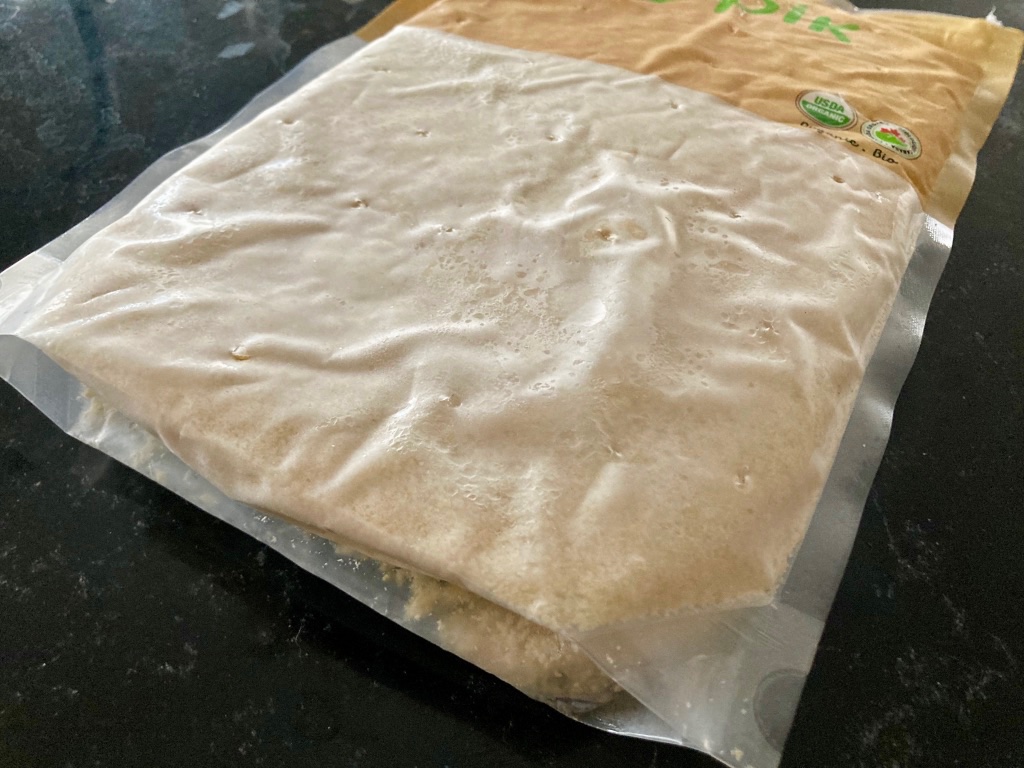
I followed the recipe from my favourite cookbook exactly for this one. Once I’d strained the mash for the yogurt, I baked the pulp to dry it out (I initially wondered why the book didn’t say to use a hair dryer like it did for other tempeh recipes, but then I realized the ground soy bean mash would just fly away like dust!). After baking and cooling slightly, I added the vinegar to sanitize, then the fermentation culture for tempeh. I mixed it all together and then stuffed the tempeh mix into the cleaned out soy bean plastic bags (no point wasting them) that I’d poked holes in to let the culture grow. The yogurt was almost done by now, but I had to put the tempeh on top of the dehydrator because it required a lower temperature. I turned it frequently to keep one side from being hotter than the other. Then when the yogurt was done, I put the tempeh in. Maybe it was the time spent outside the dehydrator, but the spores didn’t take over very well. My dehydrator is also not very precise, so I had to keep testing the tempeh temperature with my digital thermometer. It got to the right temp, but I’m not sure how long it stayed there. After 24 hours, I figured it’d be best to just stick the tempeh in the fridge. SO what if it’s crumbly? It’ll still be good.
And it was! Since it was crumbly, I ended up baking it, and it had a fluffy, light texture you’d never get with whole-bean tempeh. It was almost cake-like, so savoury. Maybe a little like cornbread, but without the sweetness. It loved all the sauce I tried it with. If you’re looking for a big toothsome mouthfeel, you won’t get that here, but if you want high-protein fluffy cornbread, this is your tempeh.
Recipe ideas
If you want more ideas for what to do with your soy milk, yogurt or okra tempeh, check out my recipes for lychee frozen yogurt, vanilla-almond chicken (it’ll work with soy milk), and especially this vegan tempeh bolonaise if your tempeh is as crumbly as mine was.
Leave a Reply