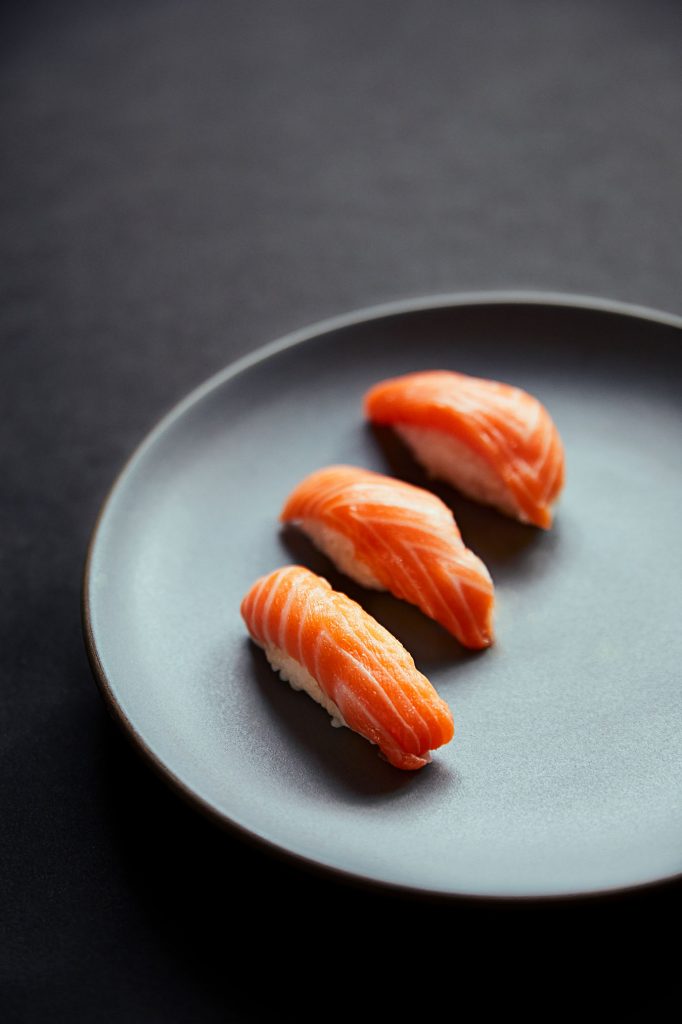
This sustainably farmed New Zealand salmon was the most beautiful fish I’ve ever had the privilege of filleting and eating.
While famous sushi chef Jiro doesn’t demo making salmon sashimi in his book Sushi Chef: Sukiyabashi Jiro, he does go in-depth on the virtues of marbled flesh and lays down a more-than-forty step process for shaping nigiri, both of which were critical with my above fish. The book also includes photos of cutaways of every part of tuna that’s used, from the lean and dark maguro to the fattier chutoro, to the fattiest o-toro, sorted by month and fish origin. My photos below are also beautiful, and were taken by Sylvie Li, a food, travel and lifestyle photographer in Montreal. And while my salmon didn’t weigh quite as much as the average tuna brought into Jiro’s restaurant, it required a very large insulated bag, a lot of ice and a granny cart to get it from the fish shop to my home. Lugging it up the stairs and making room for it in my fridge was…challenging.
Fish is seasonal, Jiro says in the book, so he’ll only serve certain fish and seafood in certain months. Their preparation can also differ month to month. Scallops are best from Hokkaido during their short season, he has his favourite place for uni depending on the week, and tuna comes from all over the world in different sizes, though he mostly buys it from Tsukiji fish market in Tokyo after its been caught off the various coasts of Japan. He knows even the local ones differ in size depending on the month.
The most relevant technical lesson I learned from the book, though, was that nigiri-shaping (though by no means did I execute it perfectly).
How to Make Salmon Nigiri at Home:
Step 1: Go to reputable fishmonger and buy a whole fish
I bought a giant farmed New Zealand salmon from La Mer in Montreal. I usually buy wild Pacific salmon when it’s available, but the fish guy swore the New Zealand Oka salmon was better. By that I think he meant it was fattier. The flesh was a beautiful pink, rather than the red colour of BC sockeye, which was the only BC option. If Chum or Coho had been available, I would have went with those.
But the fat content of the Oka – only available whole and not by the fillet – was incredible. It made for a buttery, smooth texture that was easy to slice. The fish guy guaranteed me that the fish were not fed antibiotics and the quality was high. (Note, I never buy Atlantic salmon because of fish diseases and other issues with the farms; for more info, check out this post on how to cook salmon, which also includes a discussion of farmed vs. wild salmon).
The fish was an investment, but completely worth it since I filleted it and didn’t waste anything. I baked the head and fleshy vertebrae (3 meals worth of meat in such a large fish).
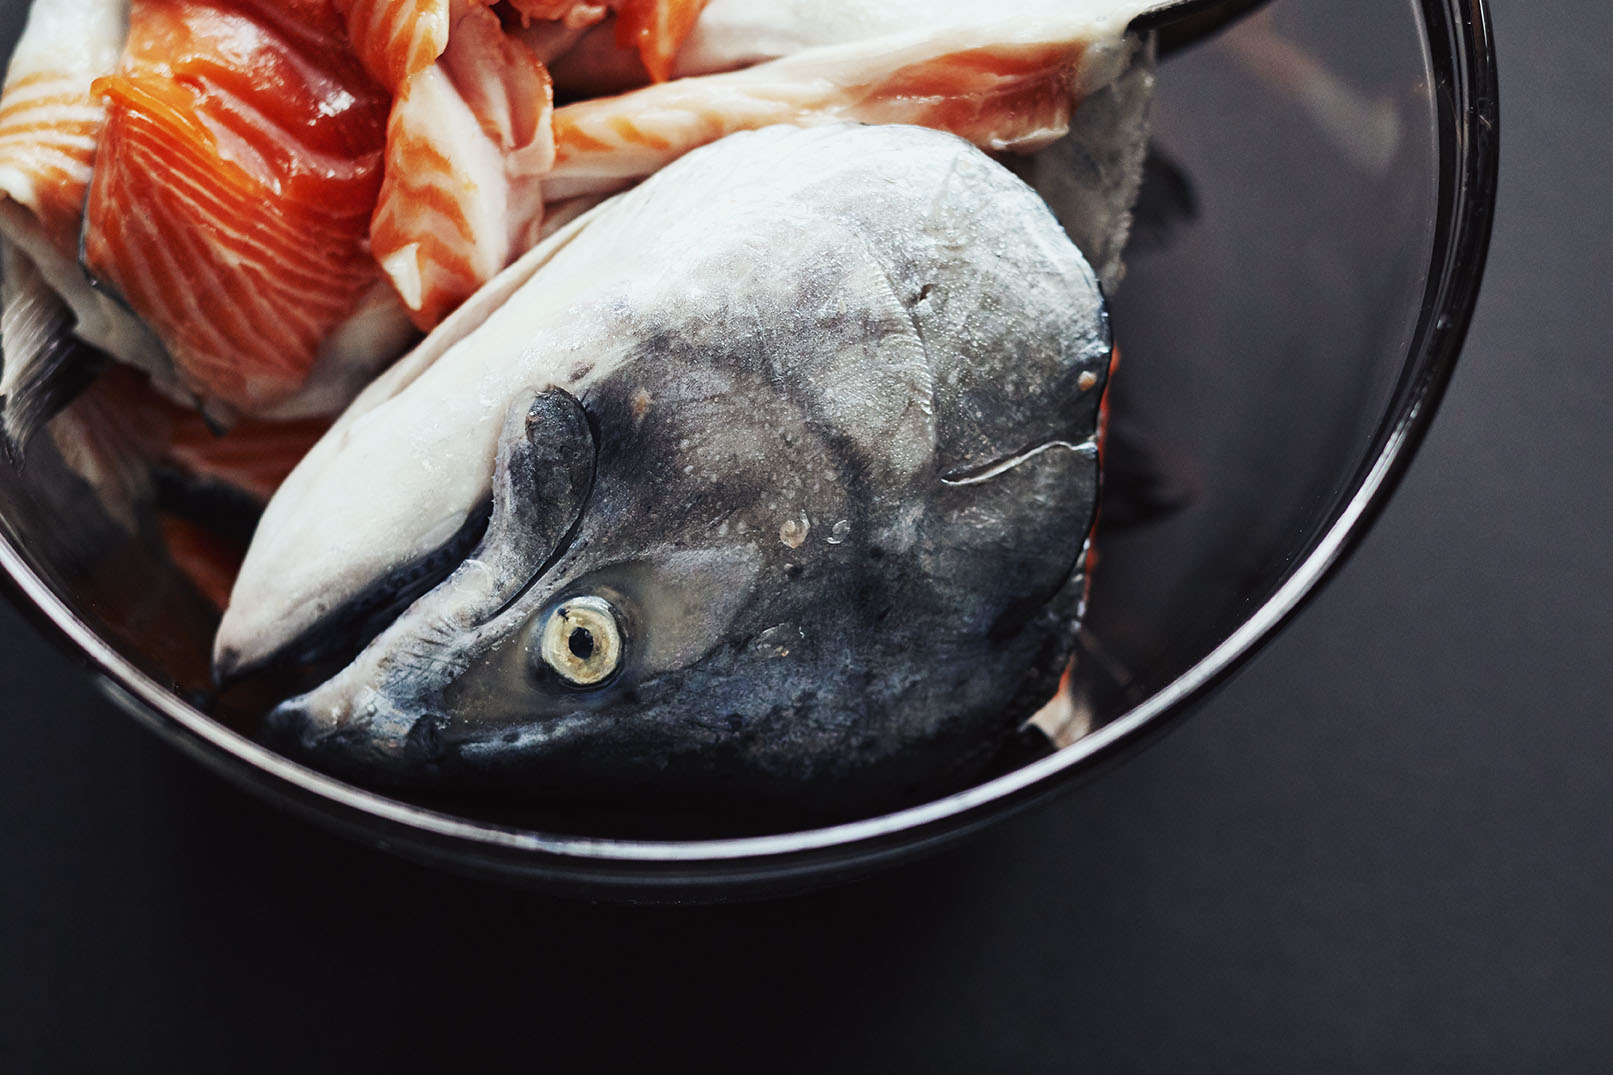
I also buy whole because you can tell just how fresh the fish really is by looking under the gills and seeing if the eyes are still bright and not sunken. There’s also less risk of bacterial growth on the meat since the flesh hasn’t been exposed to the air yet.
Step 2: Rinse and Fillet the Fish
I’d normally get the professionals to filet it for me, but I wanted to do it myself for the photos. It was such a beautiful fish. I wanted to cry when I sliced the first fillet and flipped it open to reveal the gorgeous colour.
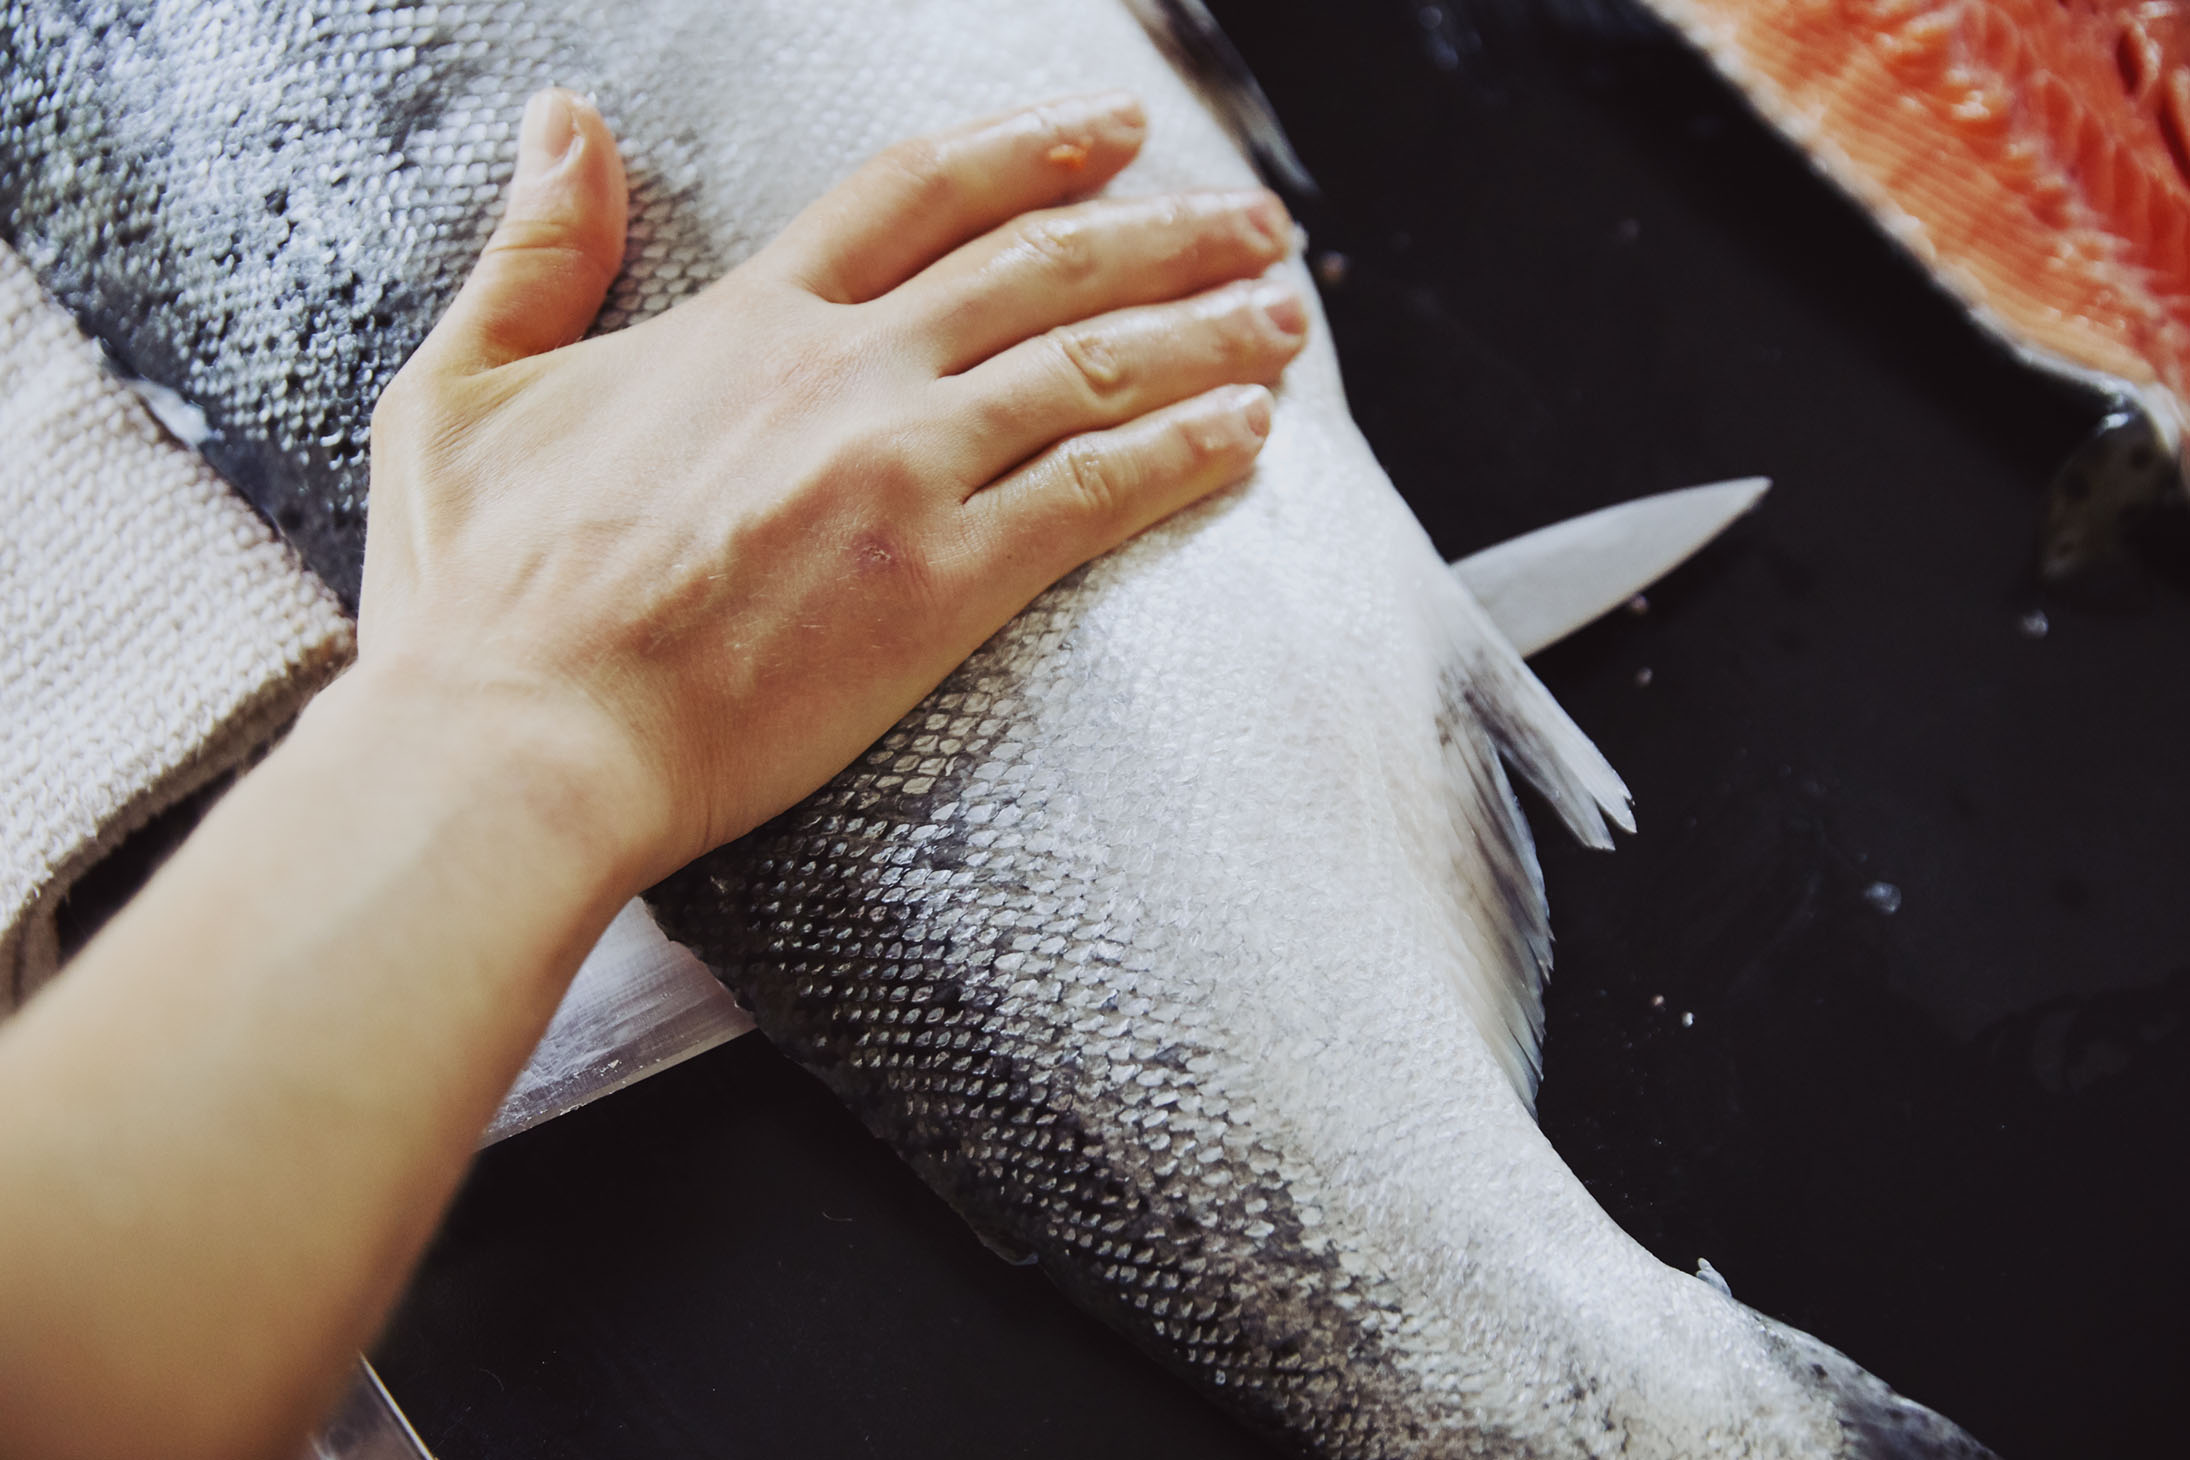
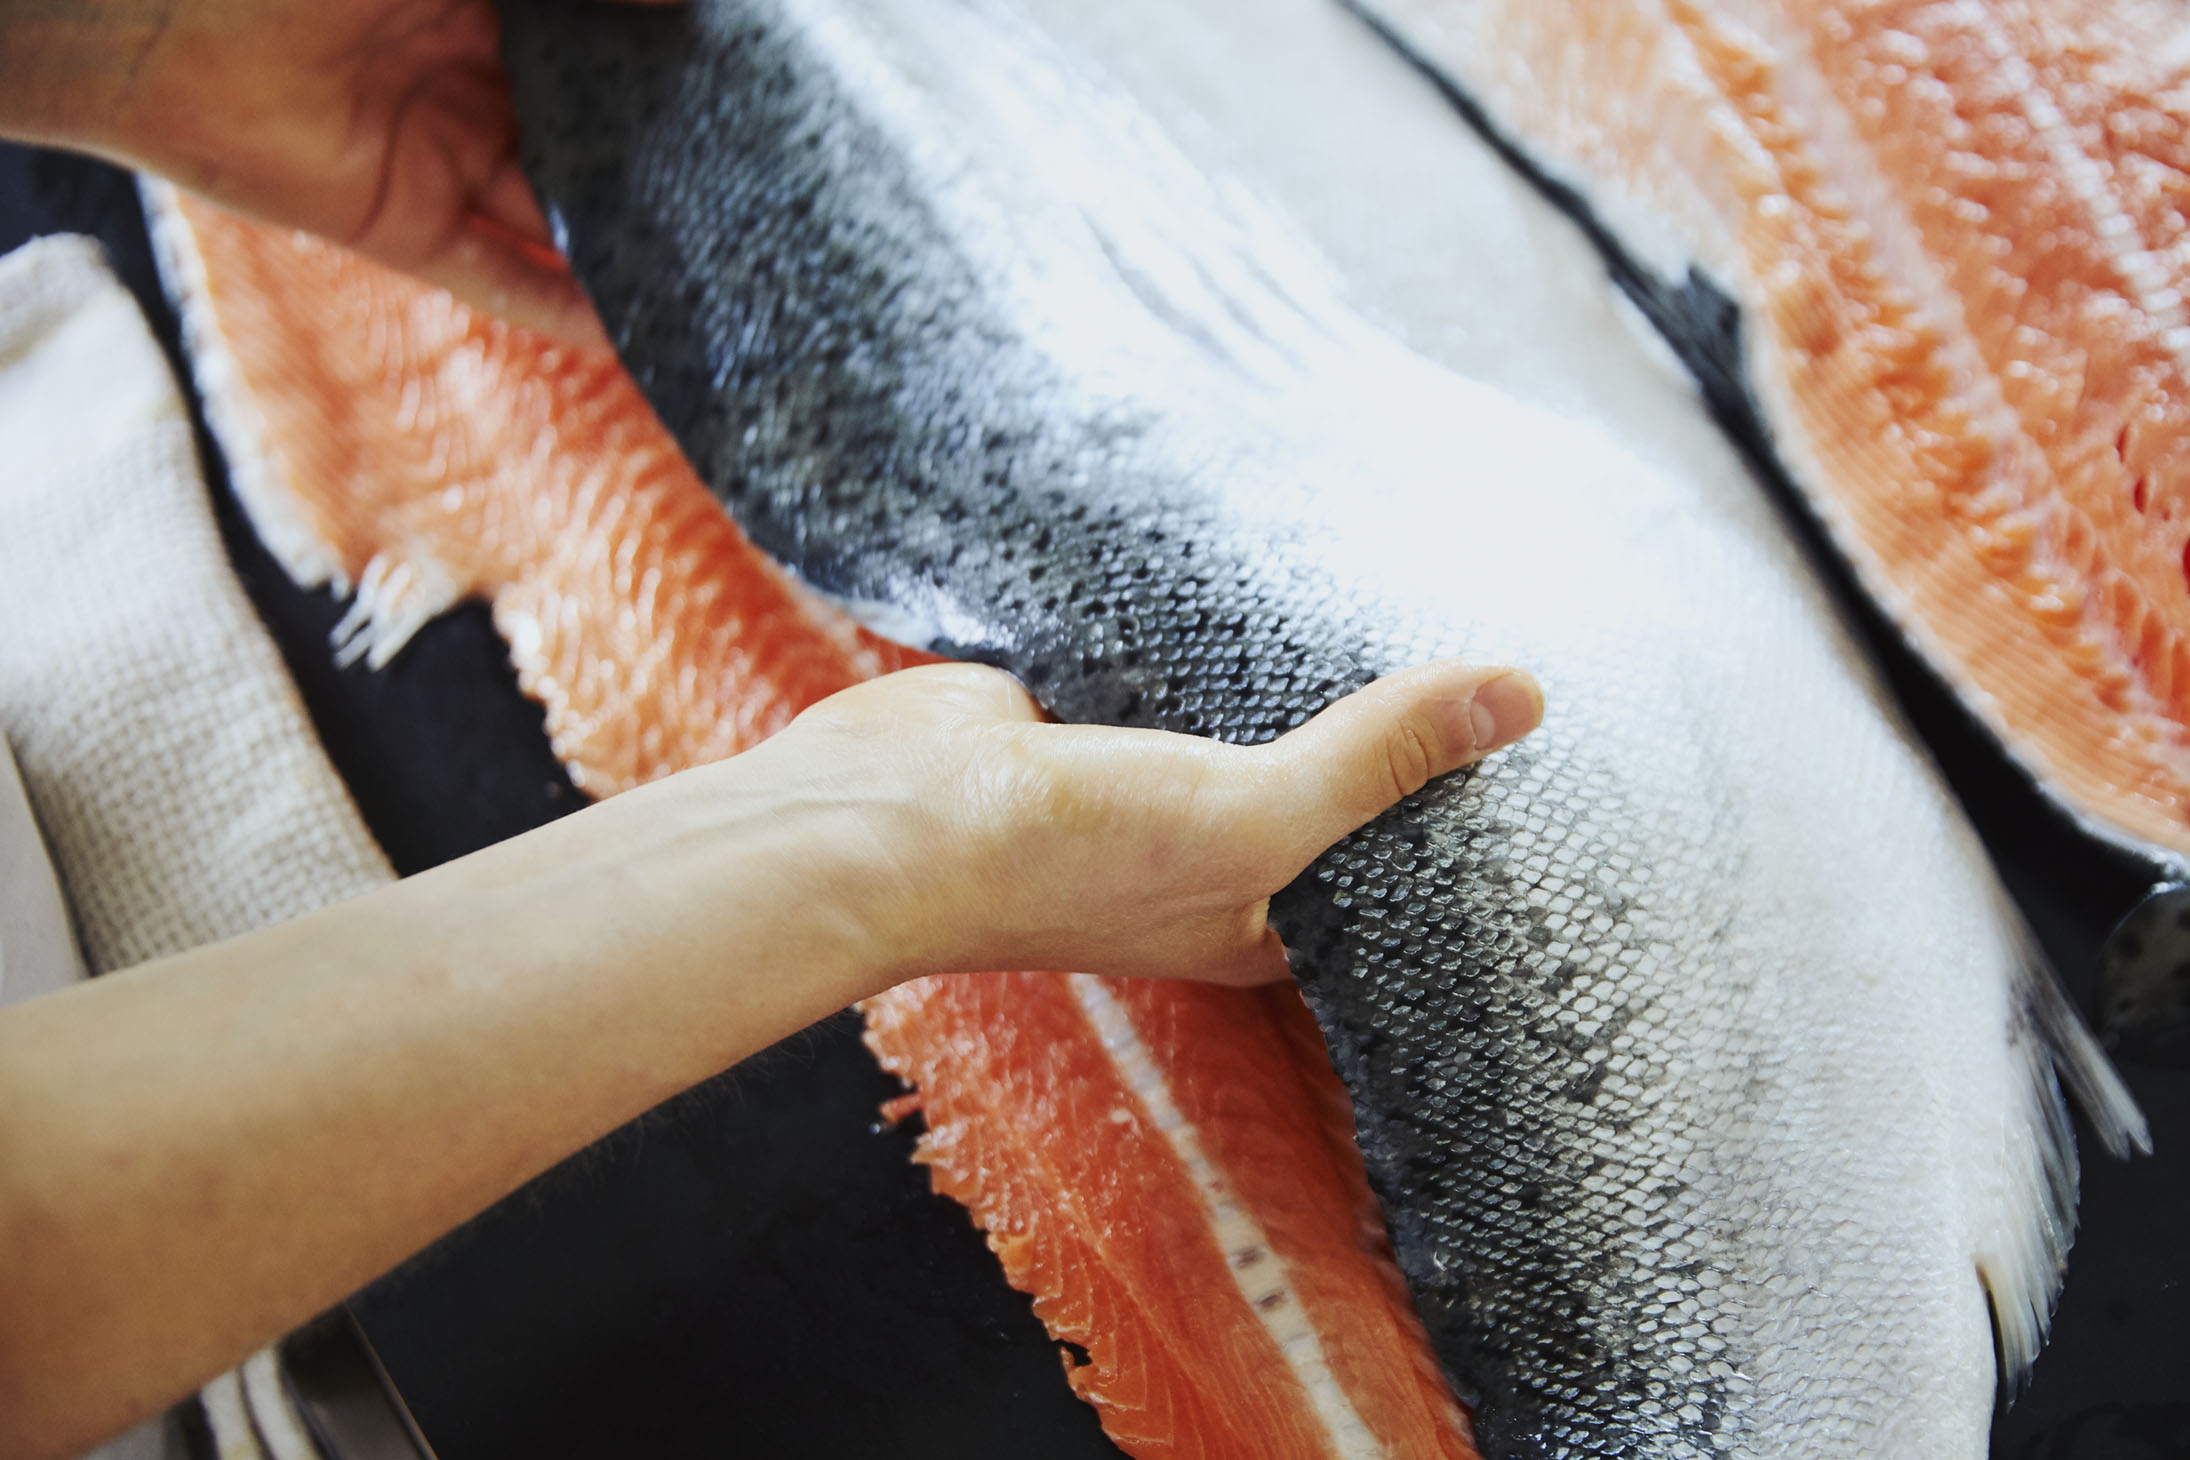
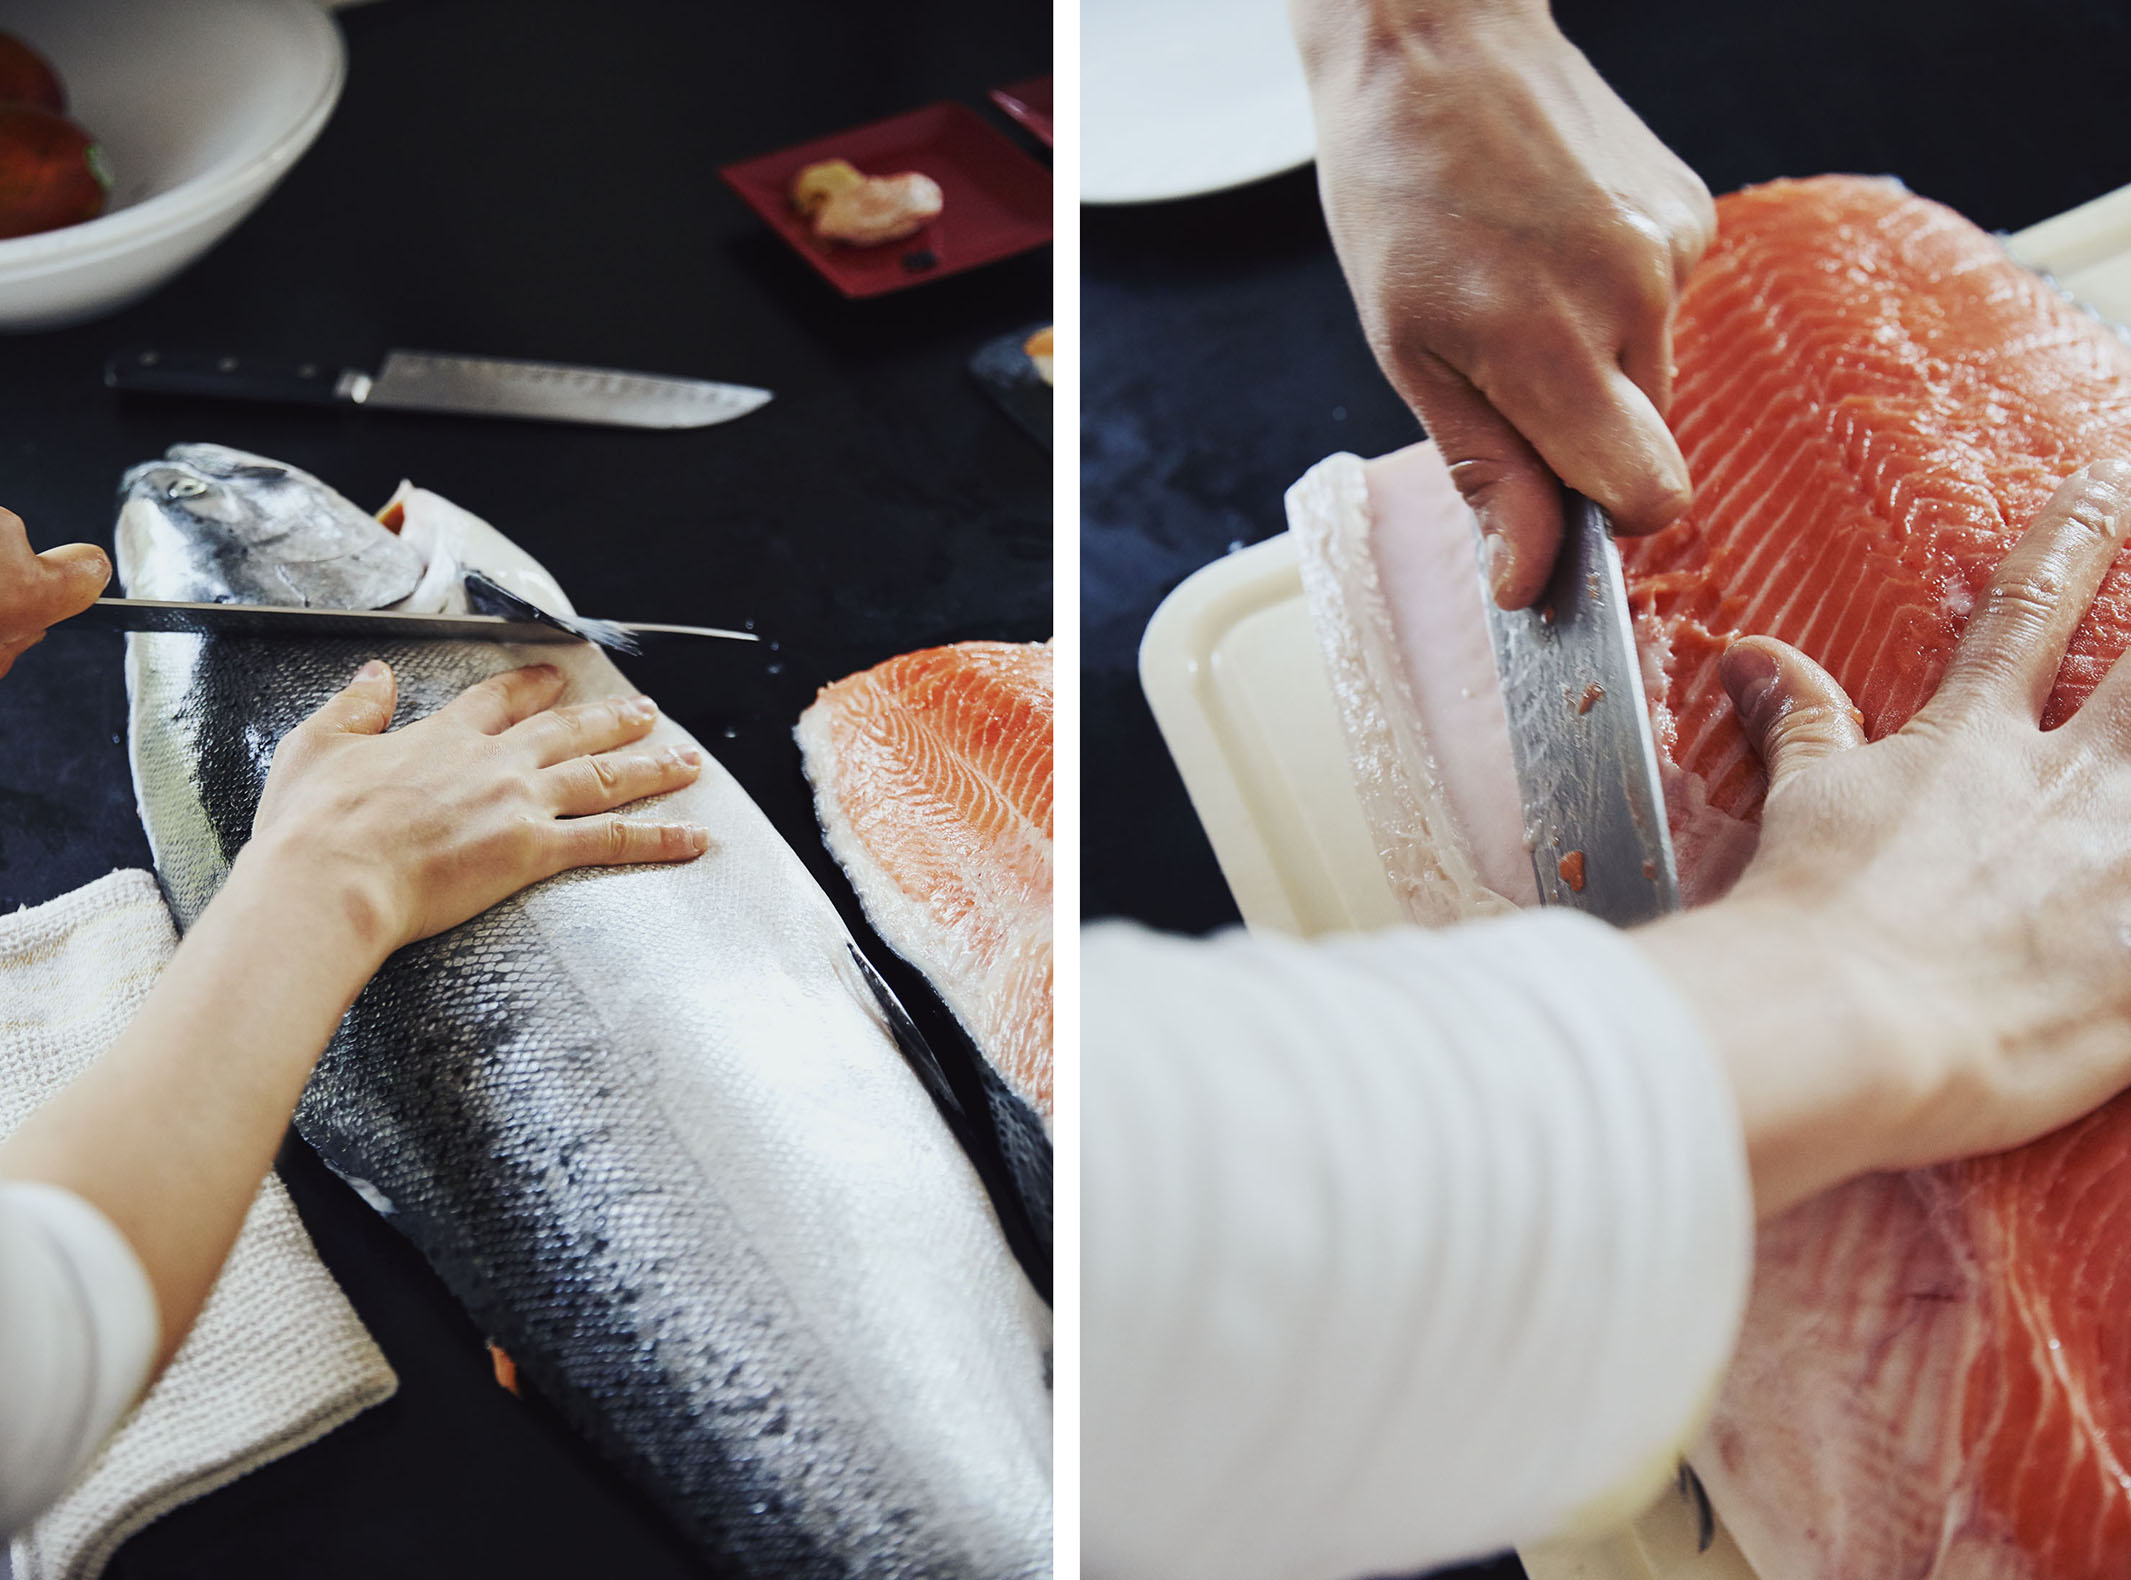 You can learn to fillet your own salmon here (mine was bigger). I wash it and pat it dry with paper towels to remove as much bacteria as possible from the outside. Some people say not to wash fish in the sink because it contaminates your sink, but that’s when you’re going to cook the fish. Since this is eaten raw, wash it. Then clean your sink.
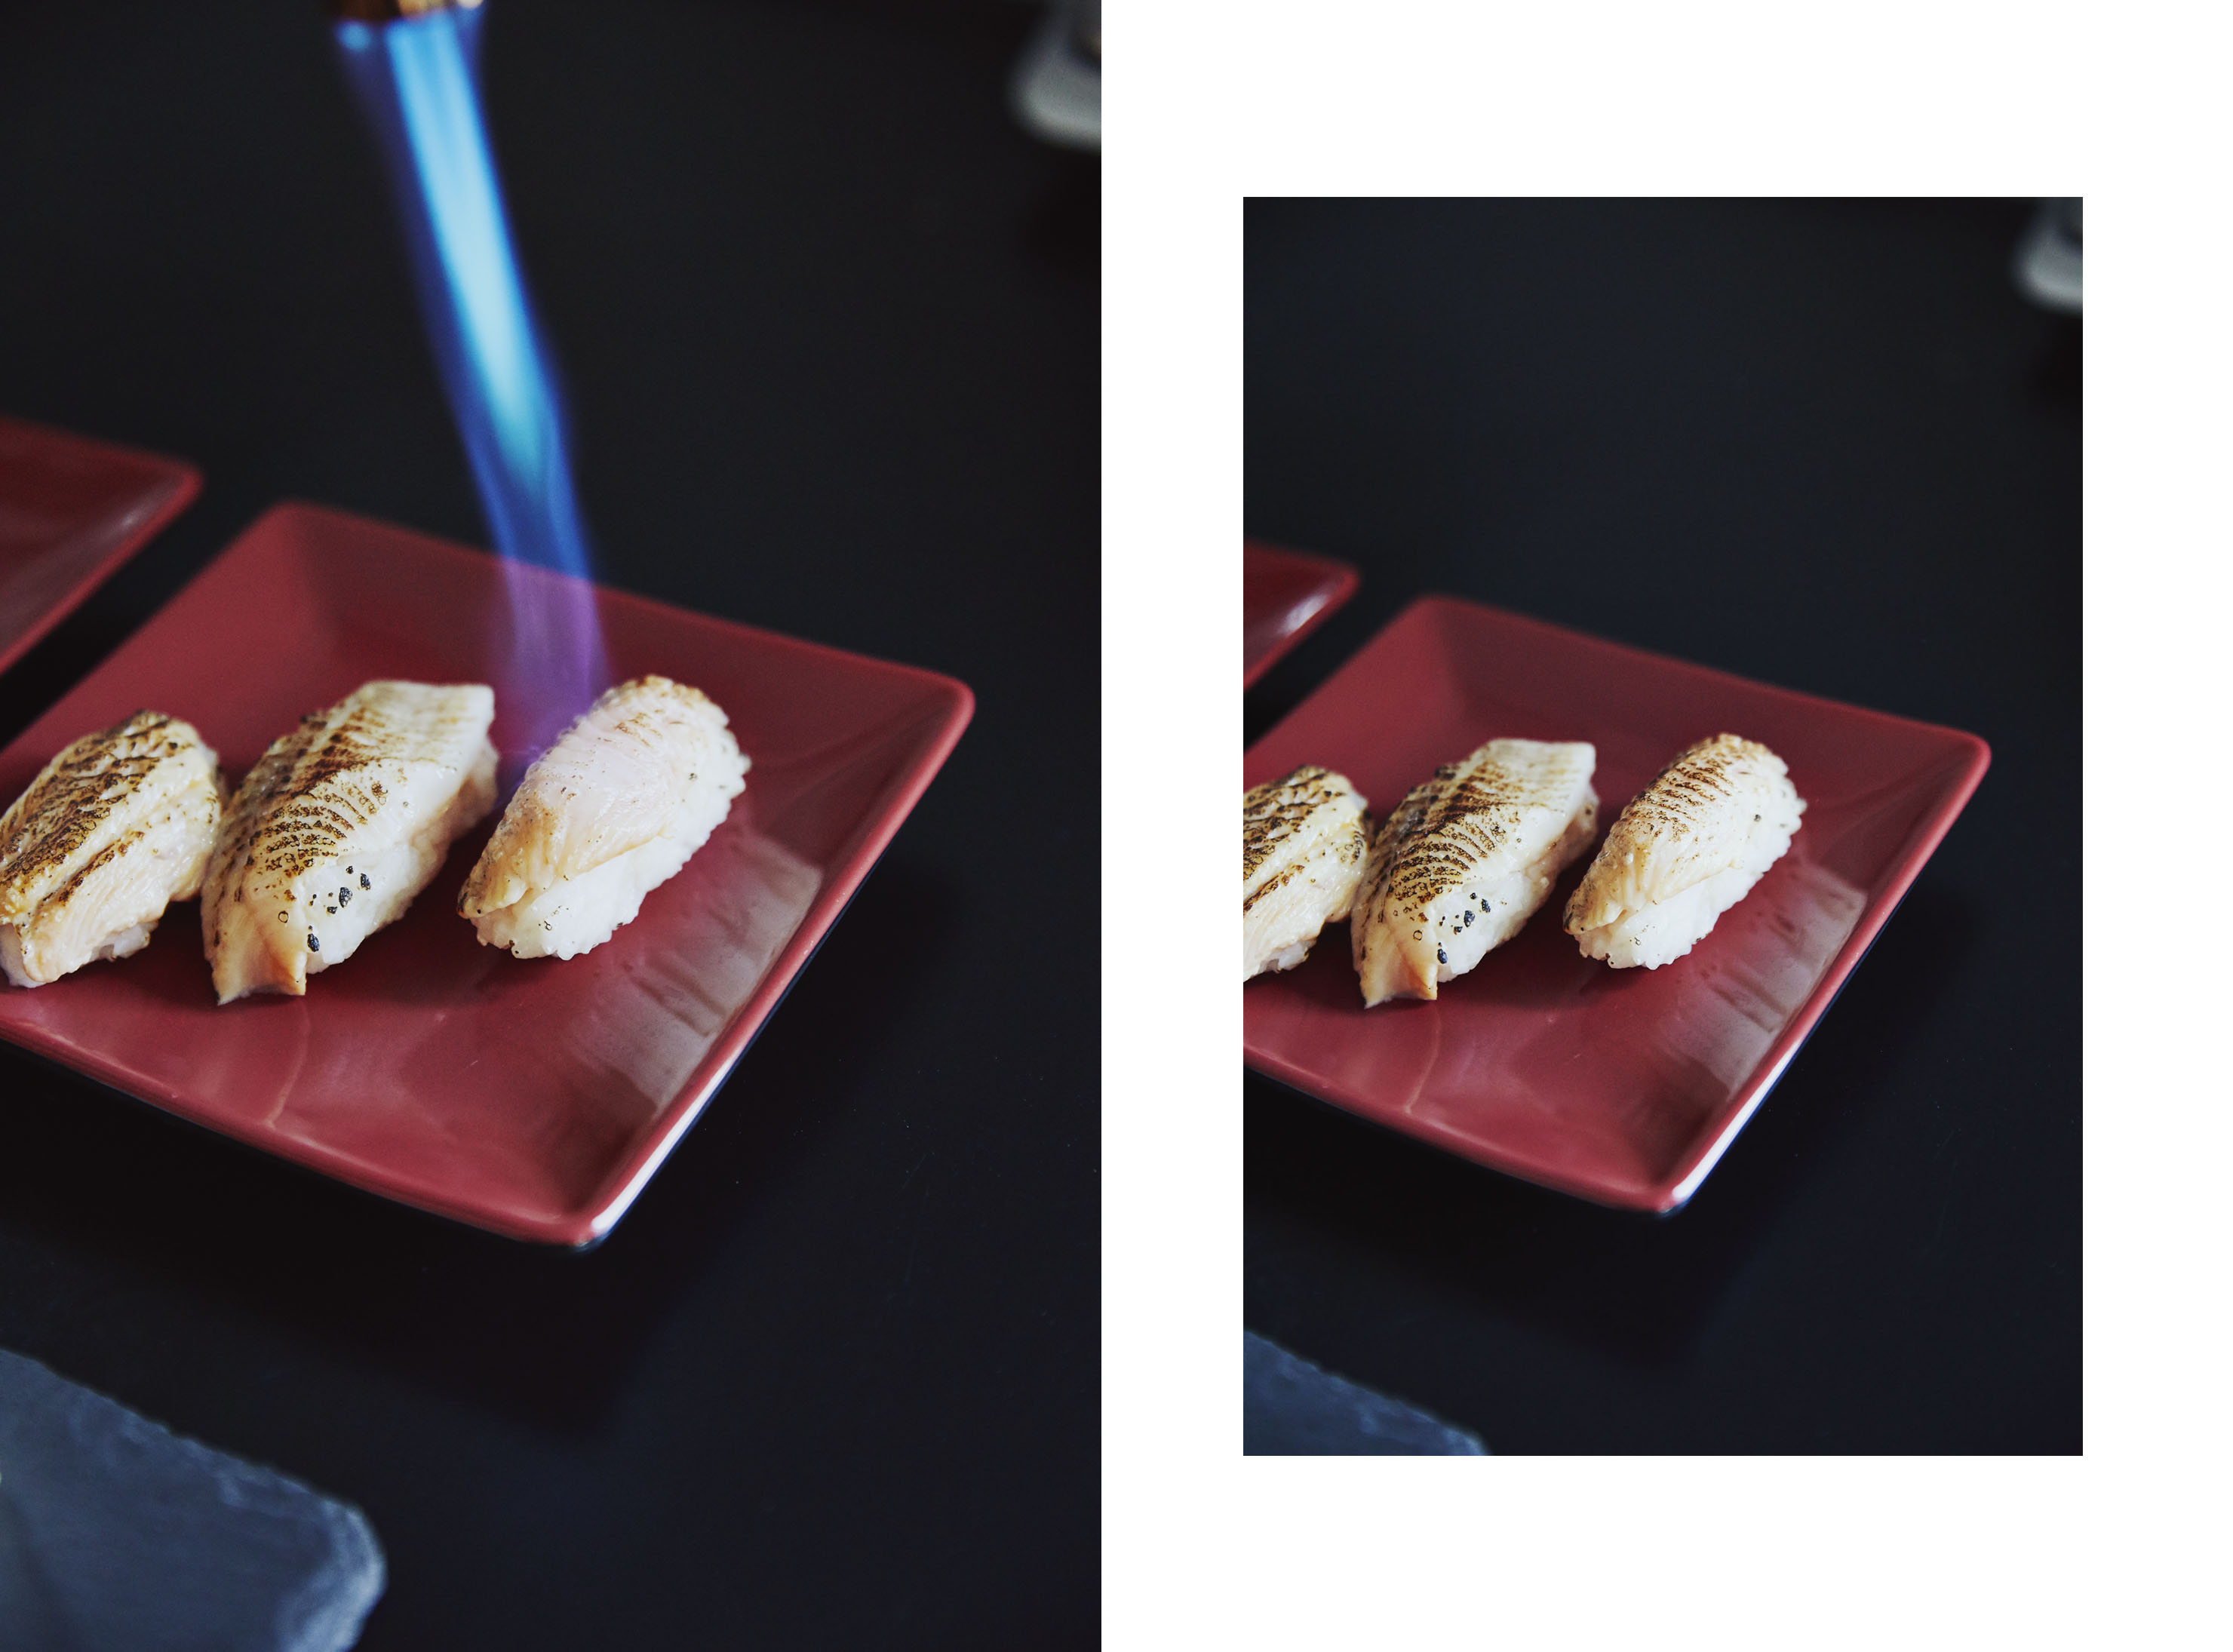
I also filleted a rainbow trout and used it for aburi sushi (photos below). These torched sushi add a roasted flavour that makes up for the trout’s relative lack of flavour (compared to the amazingly rich salmon).
I’m a huge fan of the video host’s cookbook Good Fish: Sustainable Seafood Recipes from the Pacific Coast, too. You can boil the leftover bits and strain it for fish stock (and eat or freeze the meat), or better yet, roast them (I sprinkle them with salt and sugar and bake for 10 minutes at 350˚F).
Step 3: Remove the pin bones
Here’s the video. This is tricky and time consuming, but essential if you don’t want to waste or destroy the flesh. Treat it carefully. It’ll only taste as good as the treatment you give it.
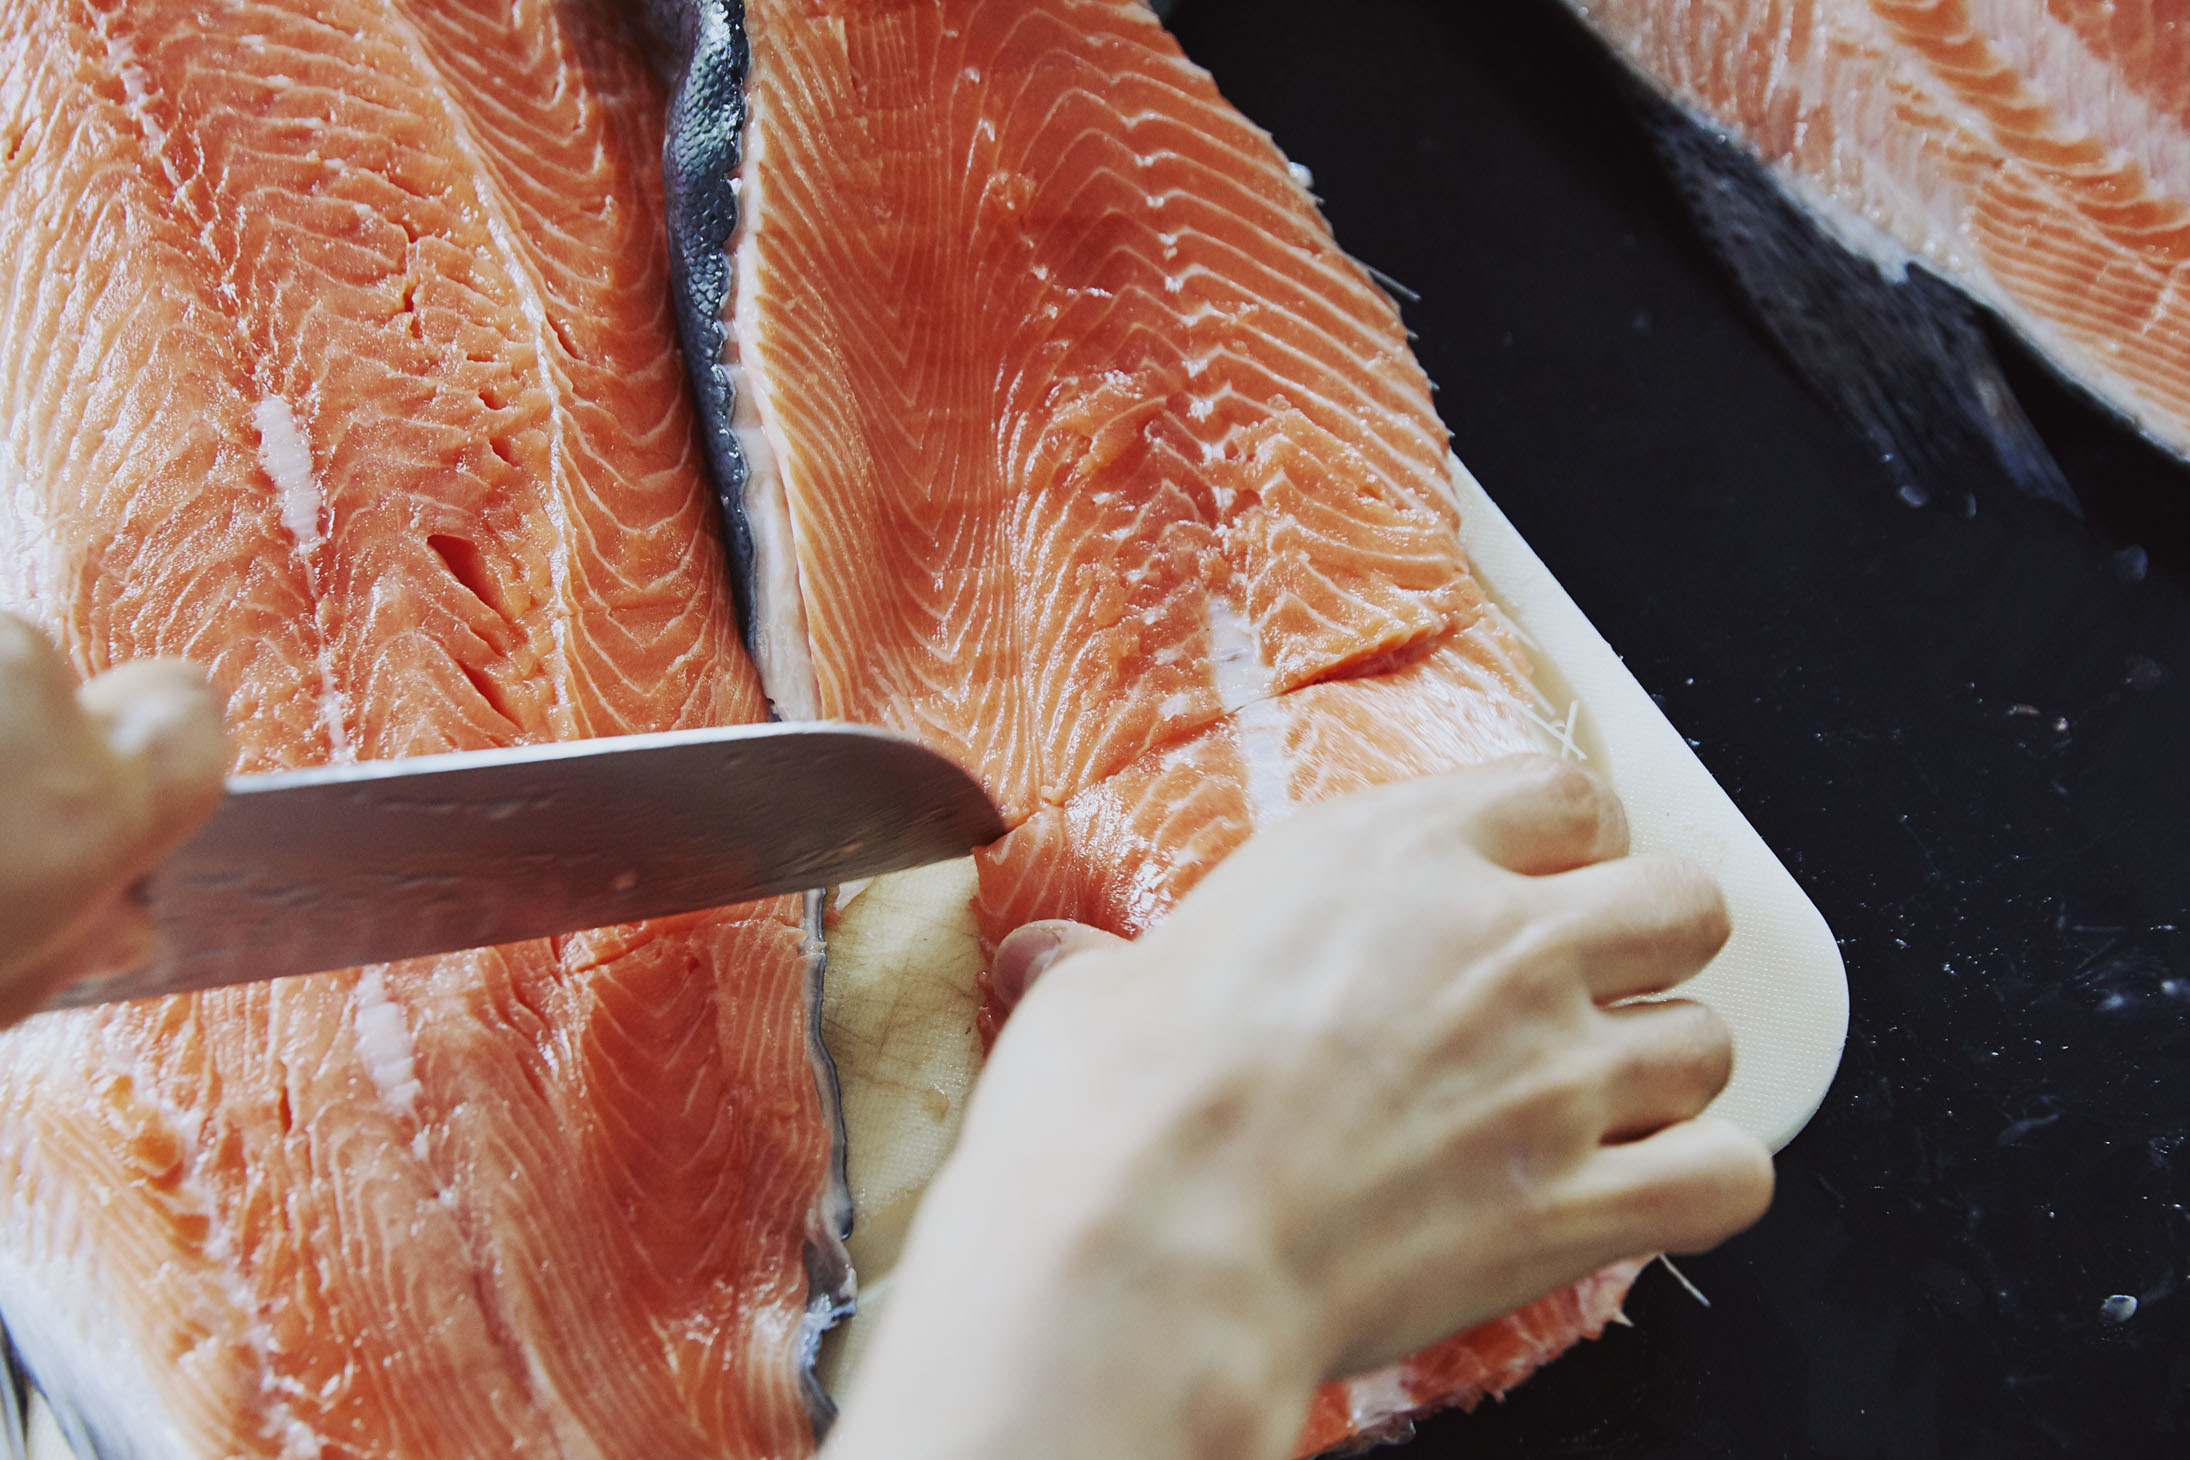
Step 4: Remove the skin
Another handy video. An advantage of a fish this large and fatty is that the skin essentially peels right off.
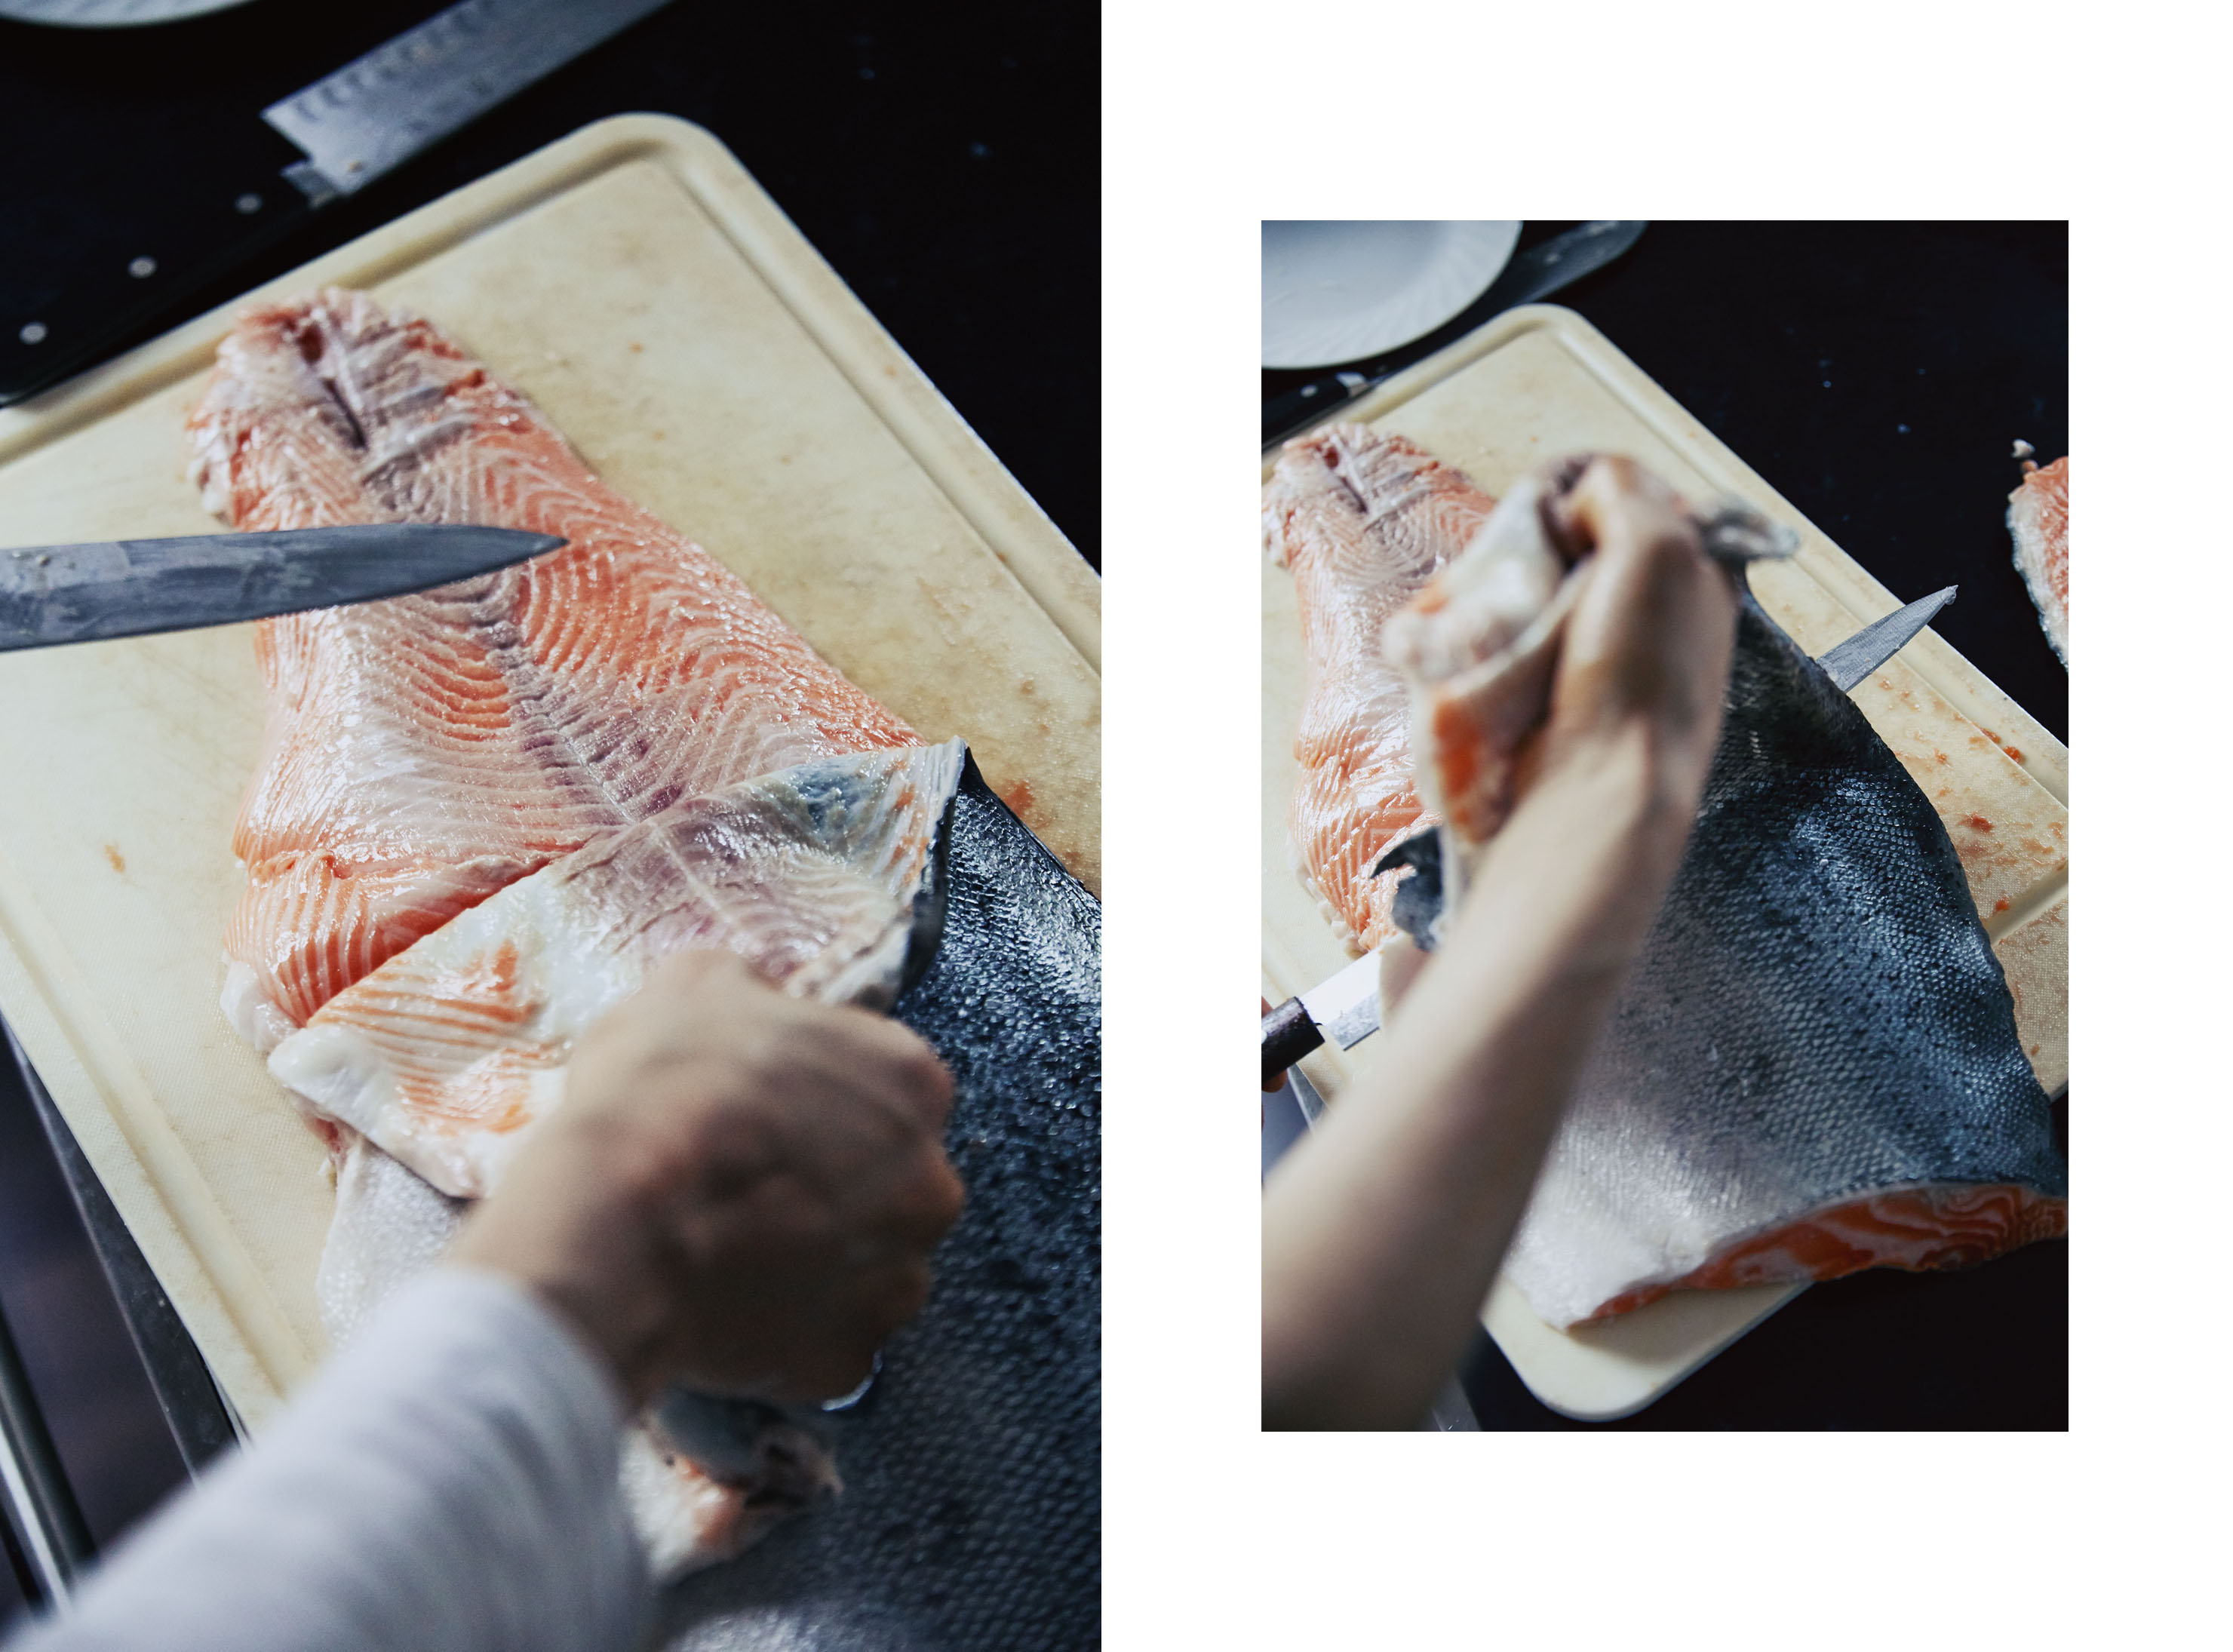
Step 5: Slice into smaller pieces and into sashimi
Jiro has a lot of instruction along these lines, too, and the gist of it is to slice sideways at an angle to give those beautiful fat lines. You’ll figure out that if you slice one way, it shreds more easily. You’ll figure it out. Just get in there. And freeze the rest of the salmon in small or large fillets for later use.
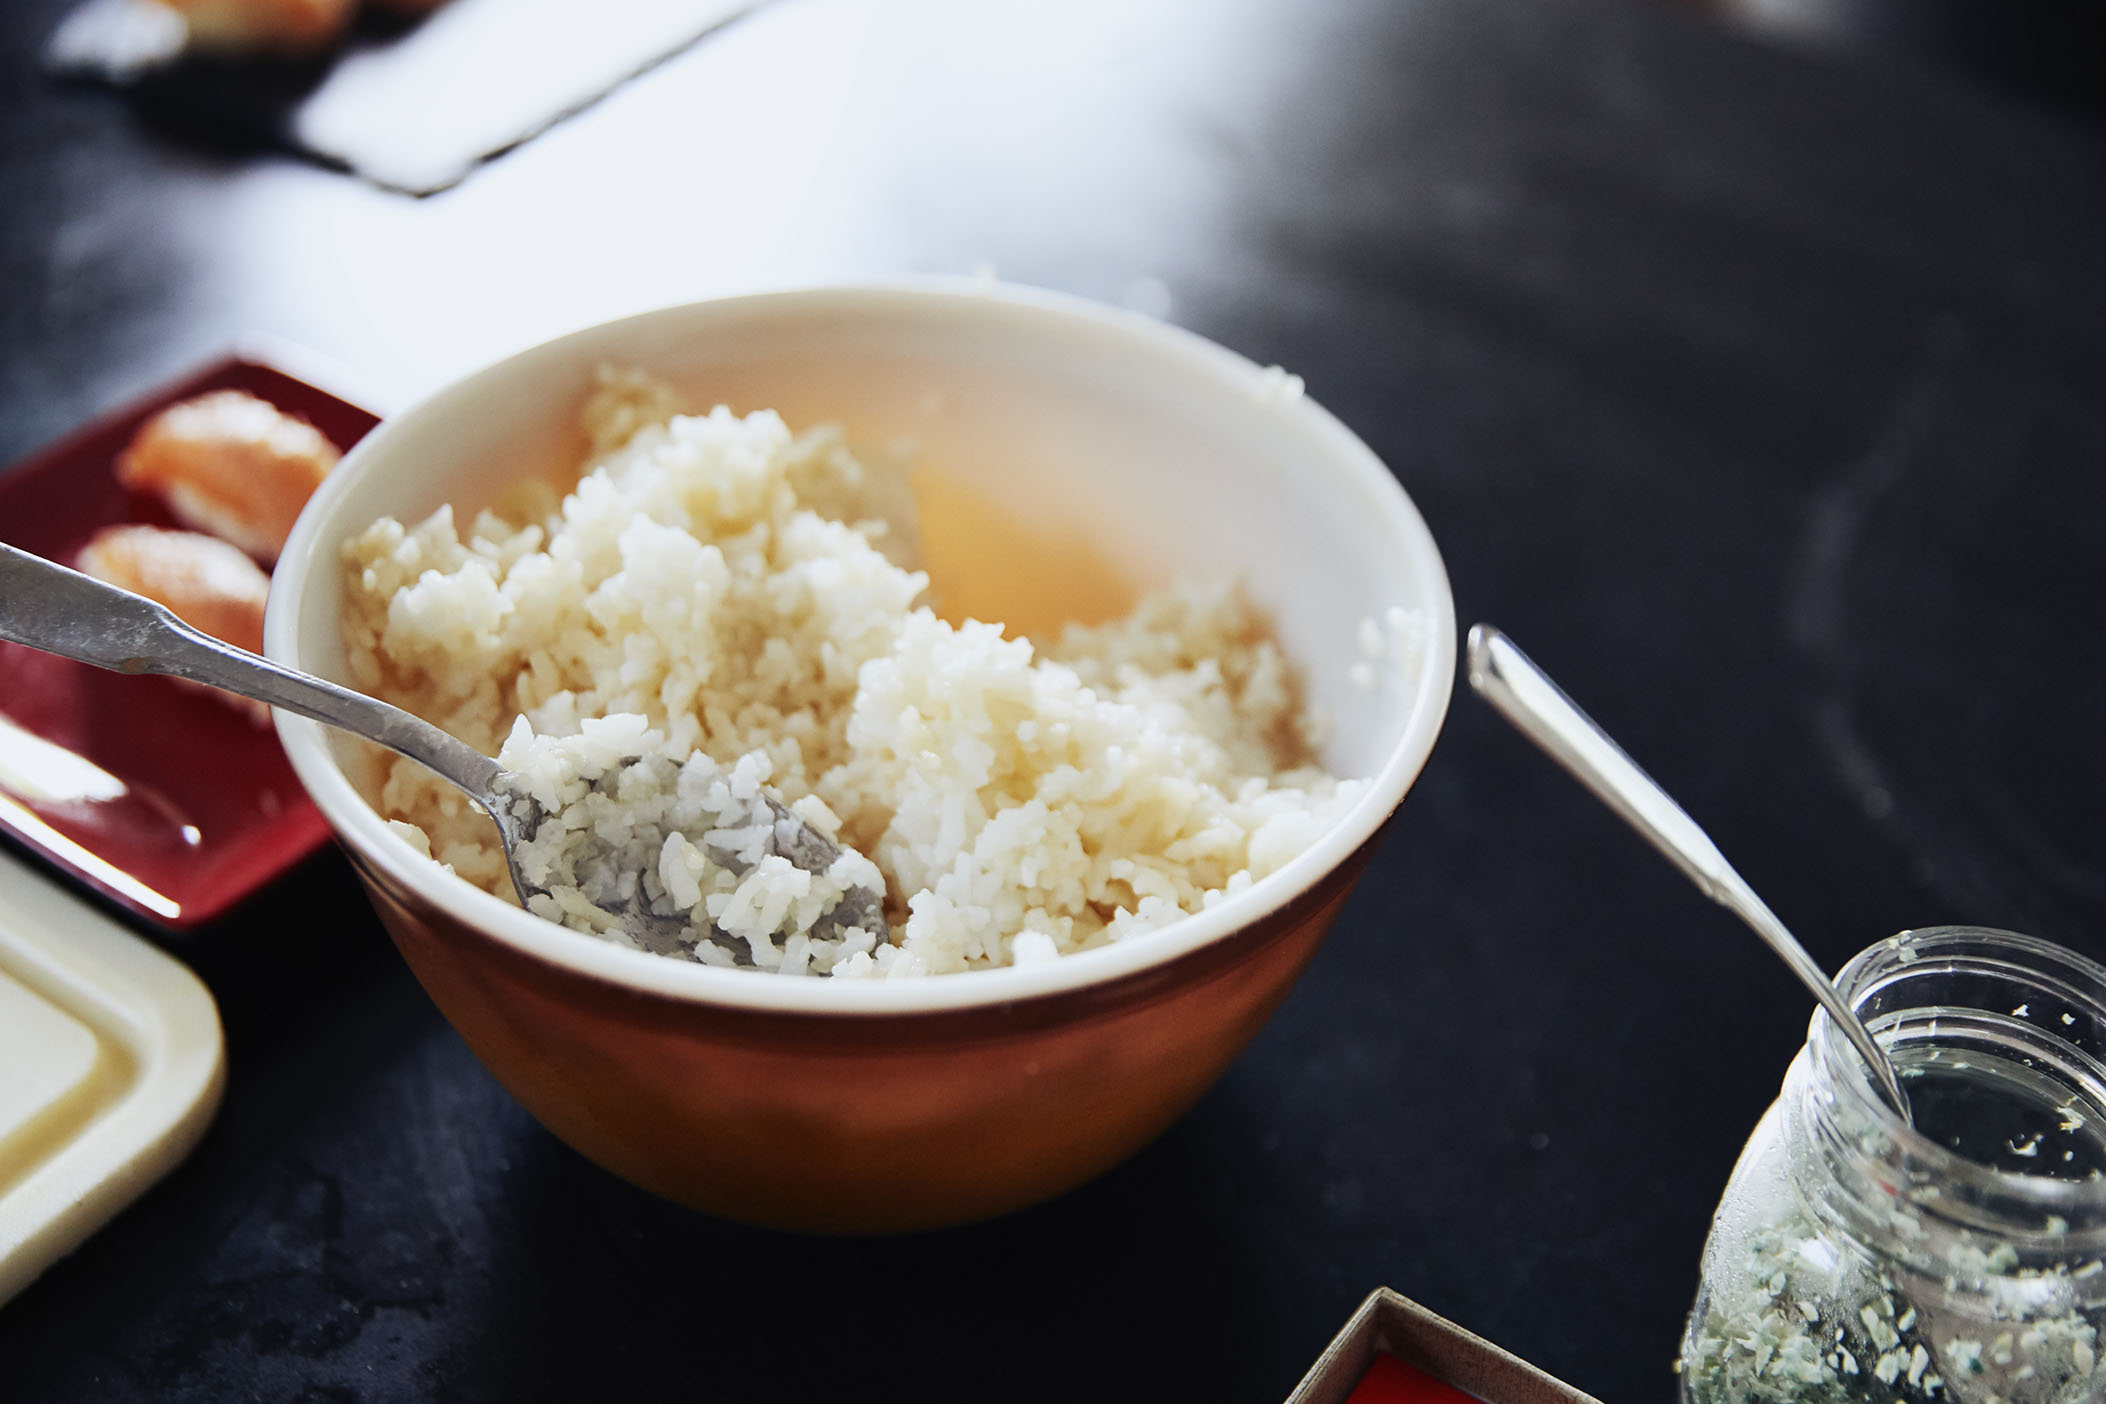
Step 6: Shape sushi rice (here’s my sushi rice recipe) for nigiri
Using Jiro 40+step method, I pinched and molded the rice then placed the salmon slice in my dominant hand and added the rice on top, pinching and shaping the and flipping and rotating the nigiri to sculpt the fish onto the rice without crushing it. Repeat, repeat, repeat.
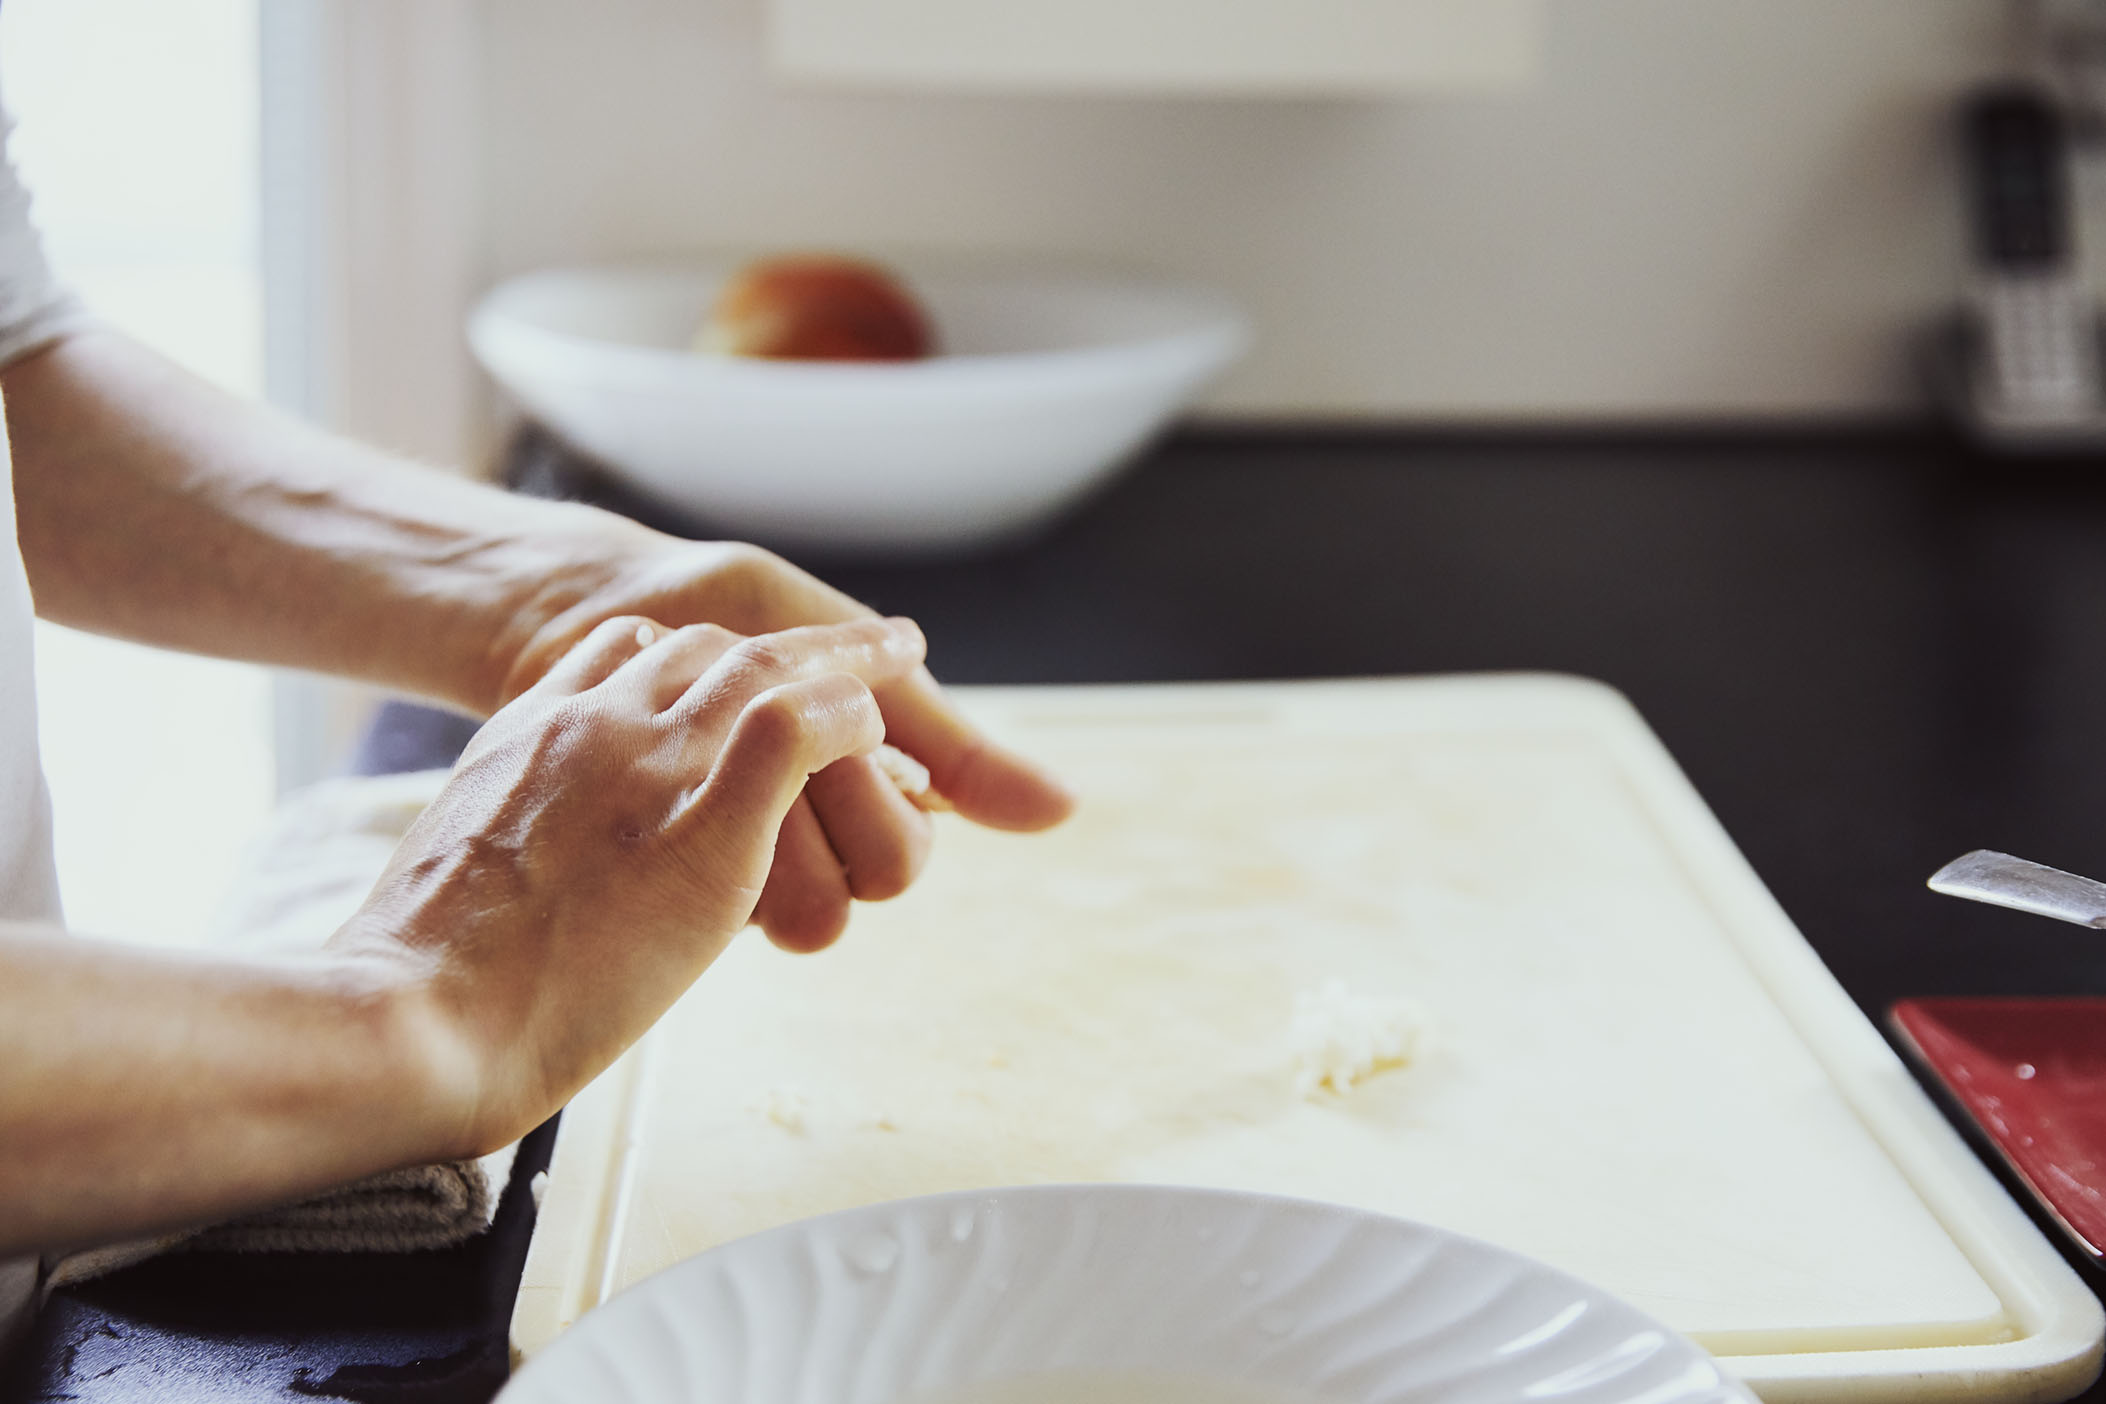
Step 7: Eat your delicious nigiri
Even if they’re not pretty (we’re new at this, you and I), the nigiri will still be delicious.
These were the prettiest of my nigiri:
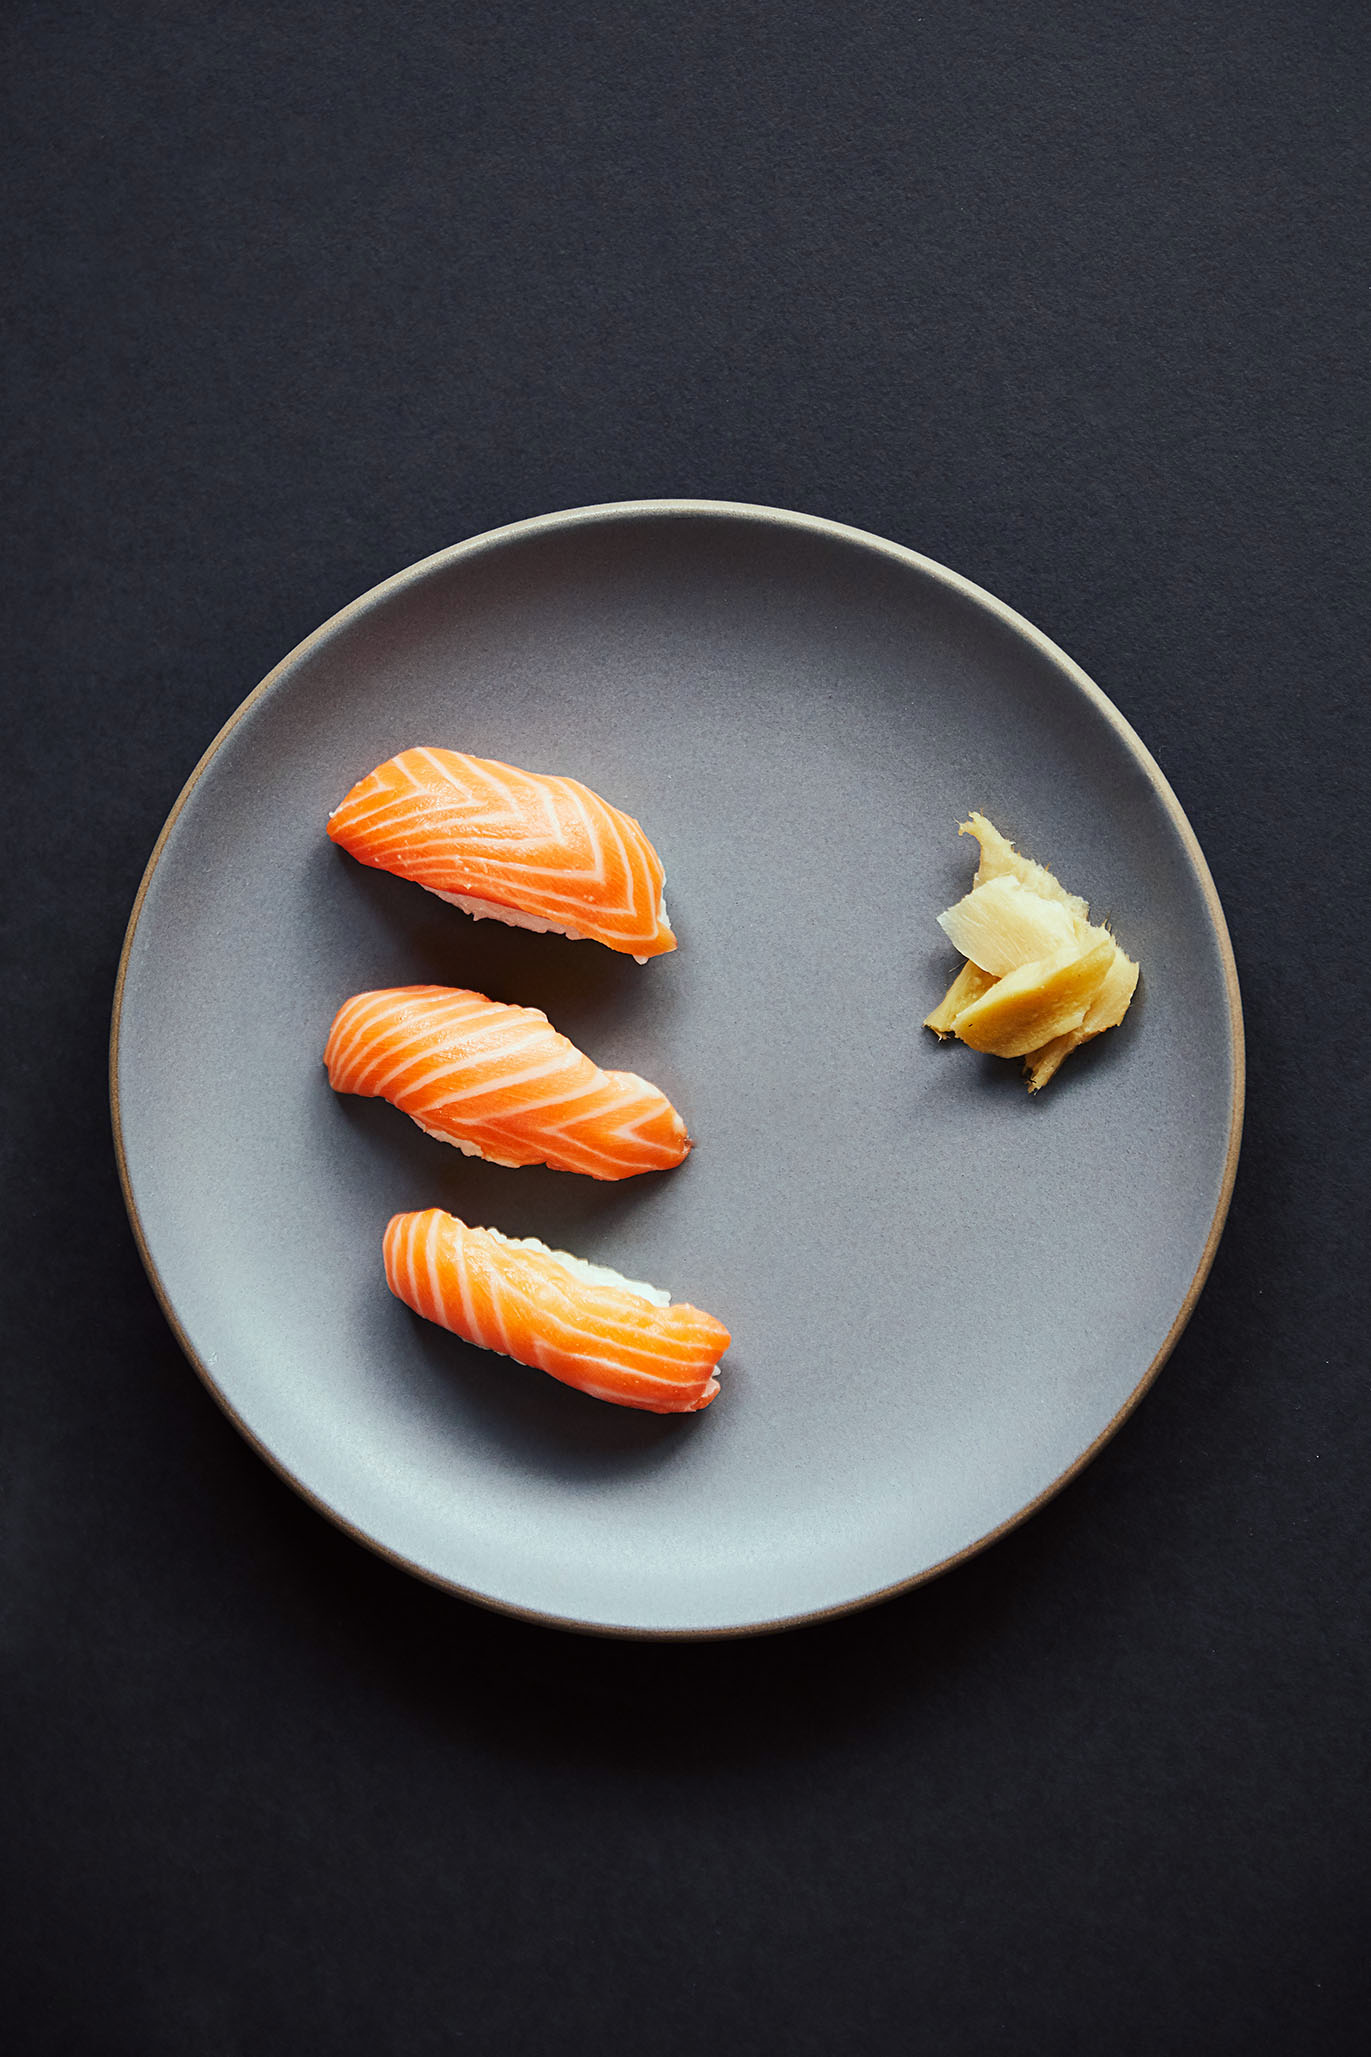
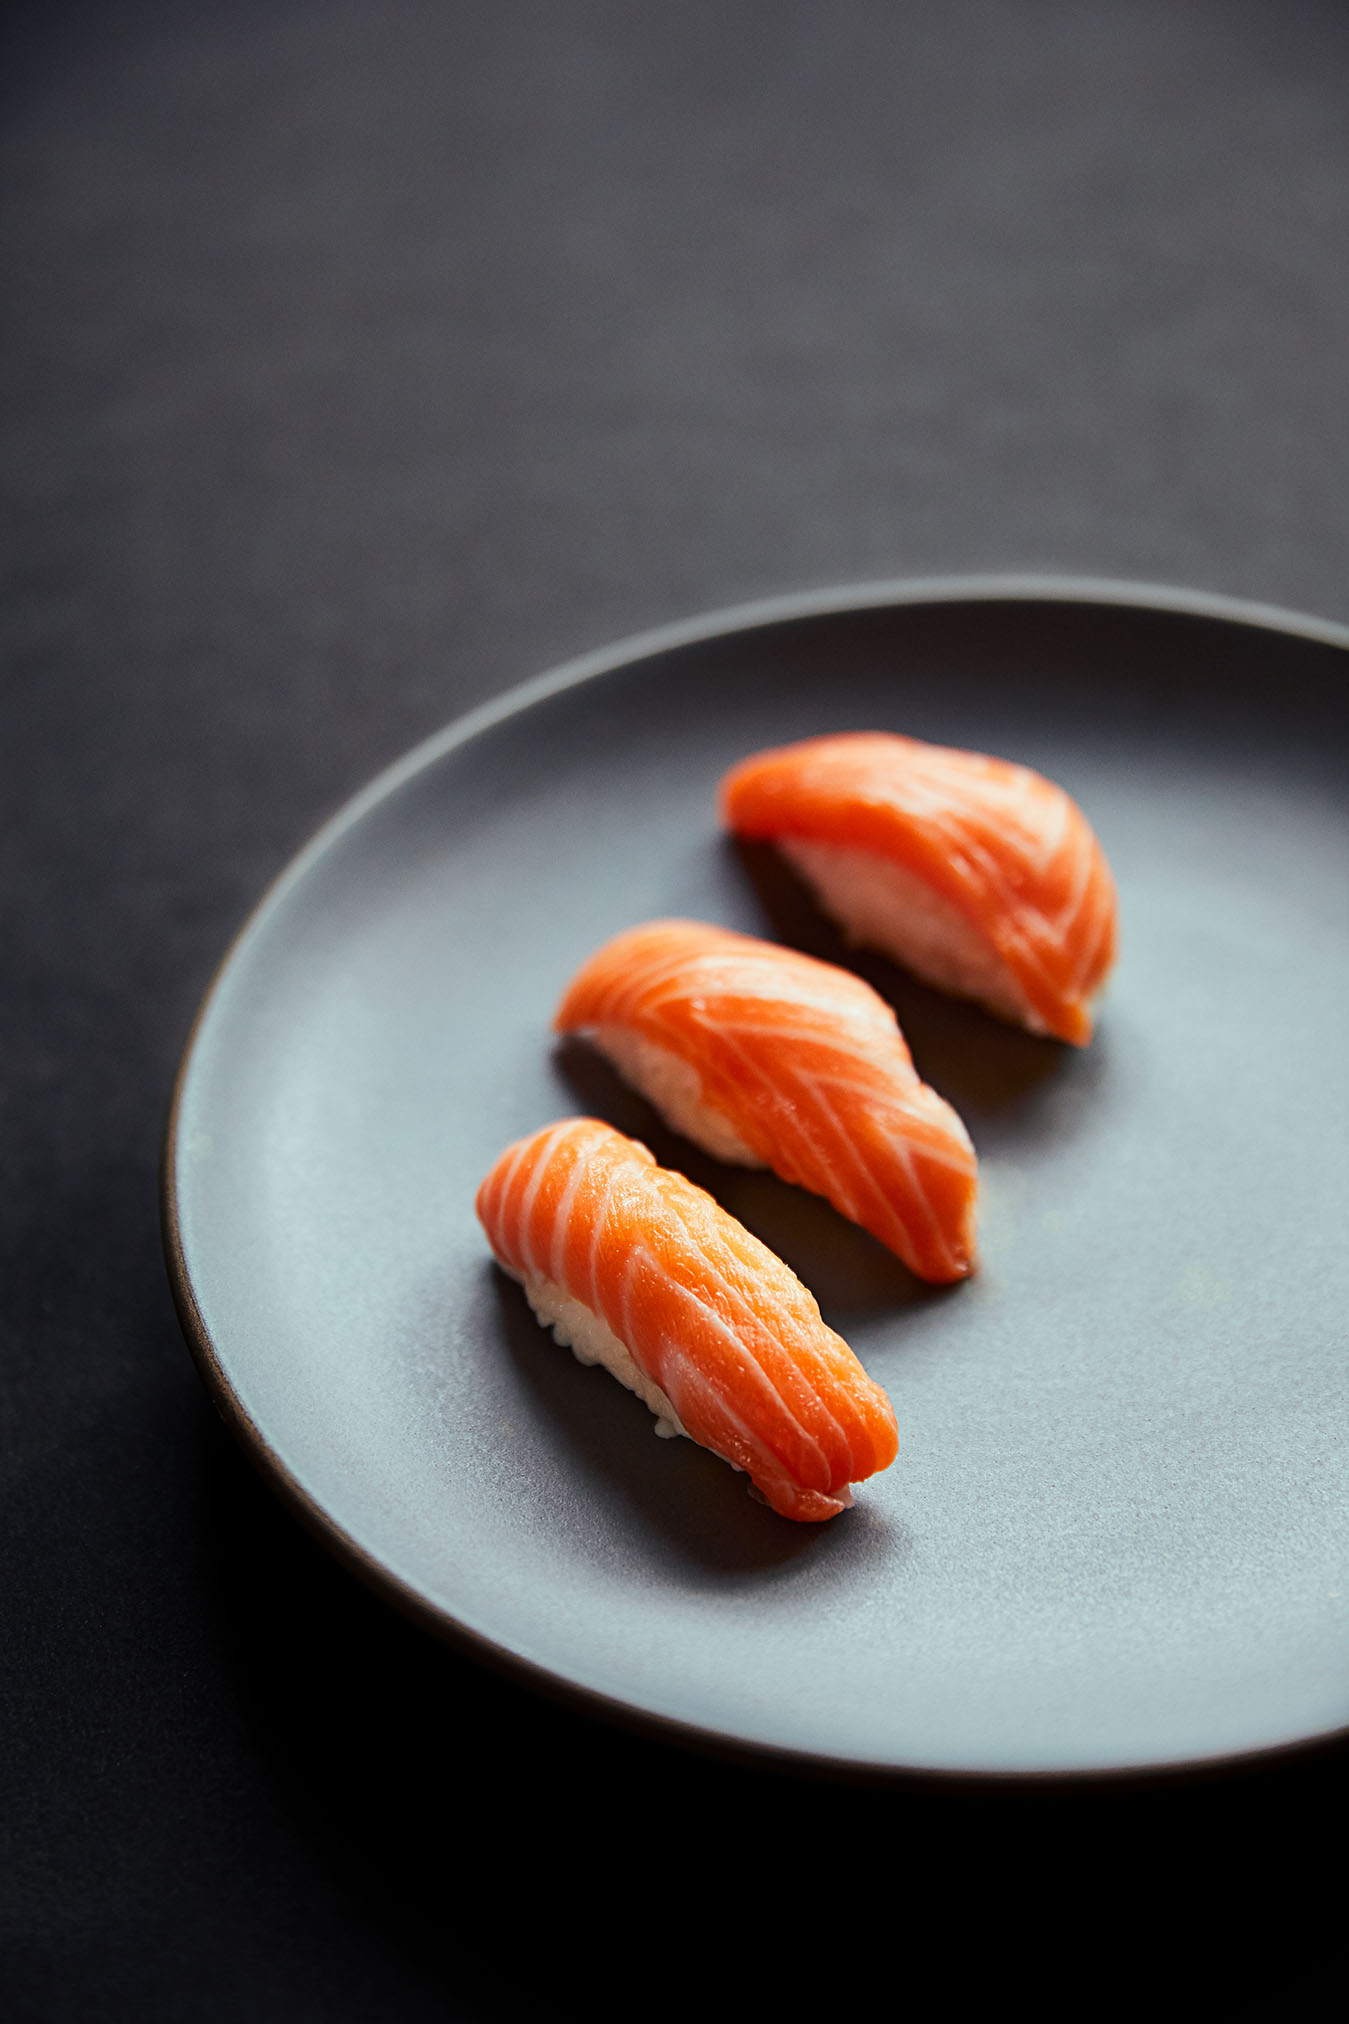
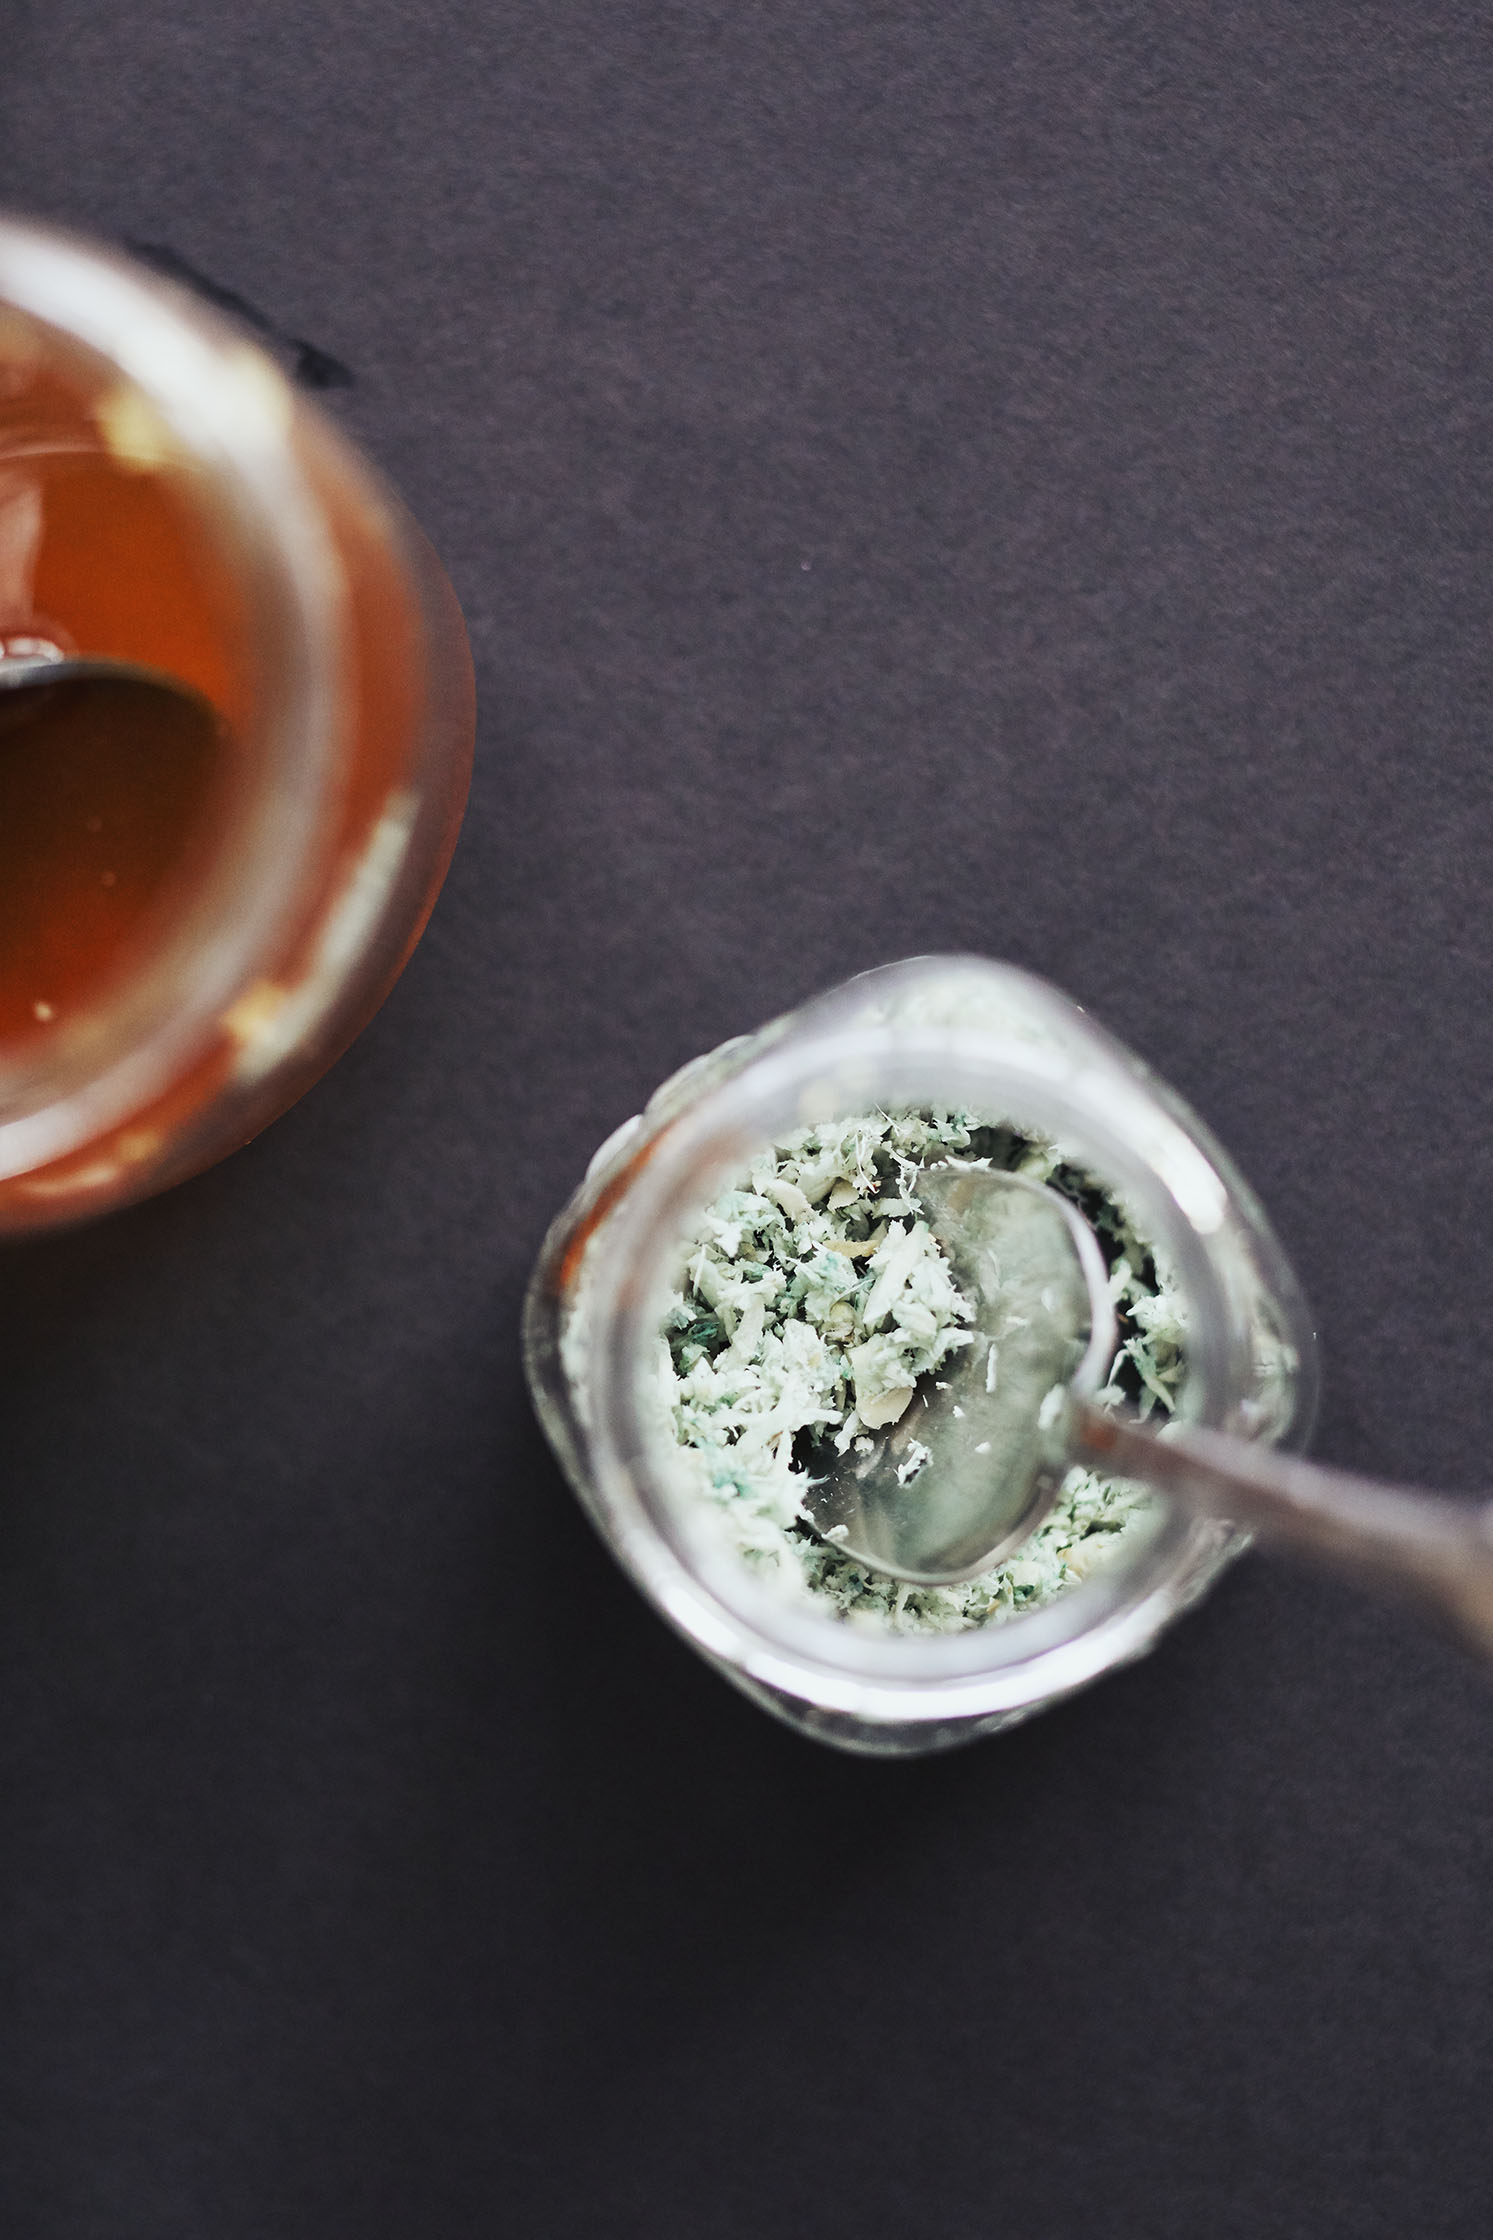
To eat, dip the fish (not the rice) in a tiny bit of sashimi soy sauce (it’s lighter than most soy sauces, but any will do in a pinch). Smile. Chew. Eat the whole thing in one bite if you can (the pieces should be small enough traditionally to make this reasonable). Serve with homemade wasabi if you can’t find real stuff (I can’t in Montreal, so I mix freshly grated horseradish with a tiny bit of spirulina for colour, which I use because it’s a seaweed rather than an artificial colour). The traditional way is to add a dab of it between the fish and the rice in nigiri. The sushi chef will know how much each fish needs. If you don’t, err on the side of caution. We are not all Jiros.
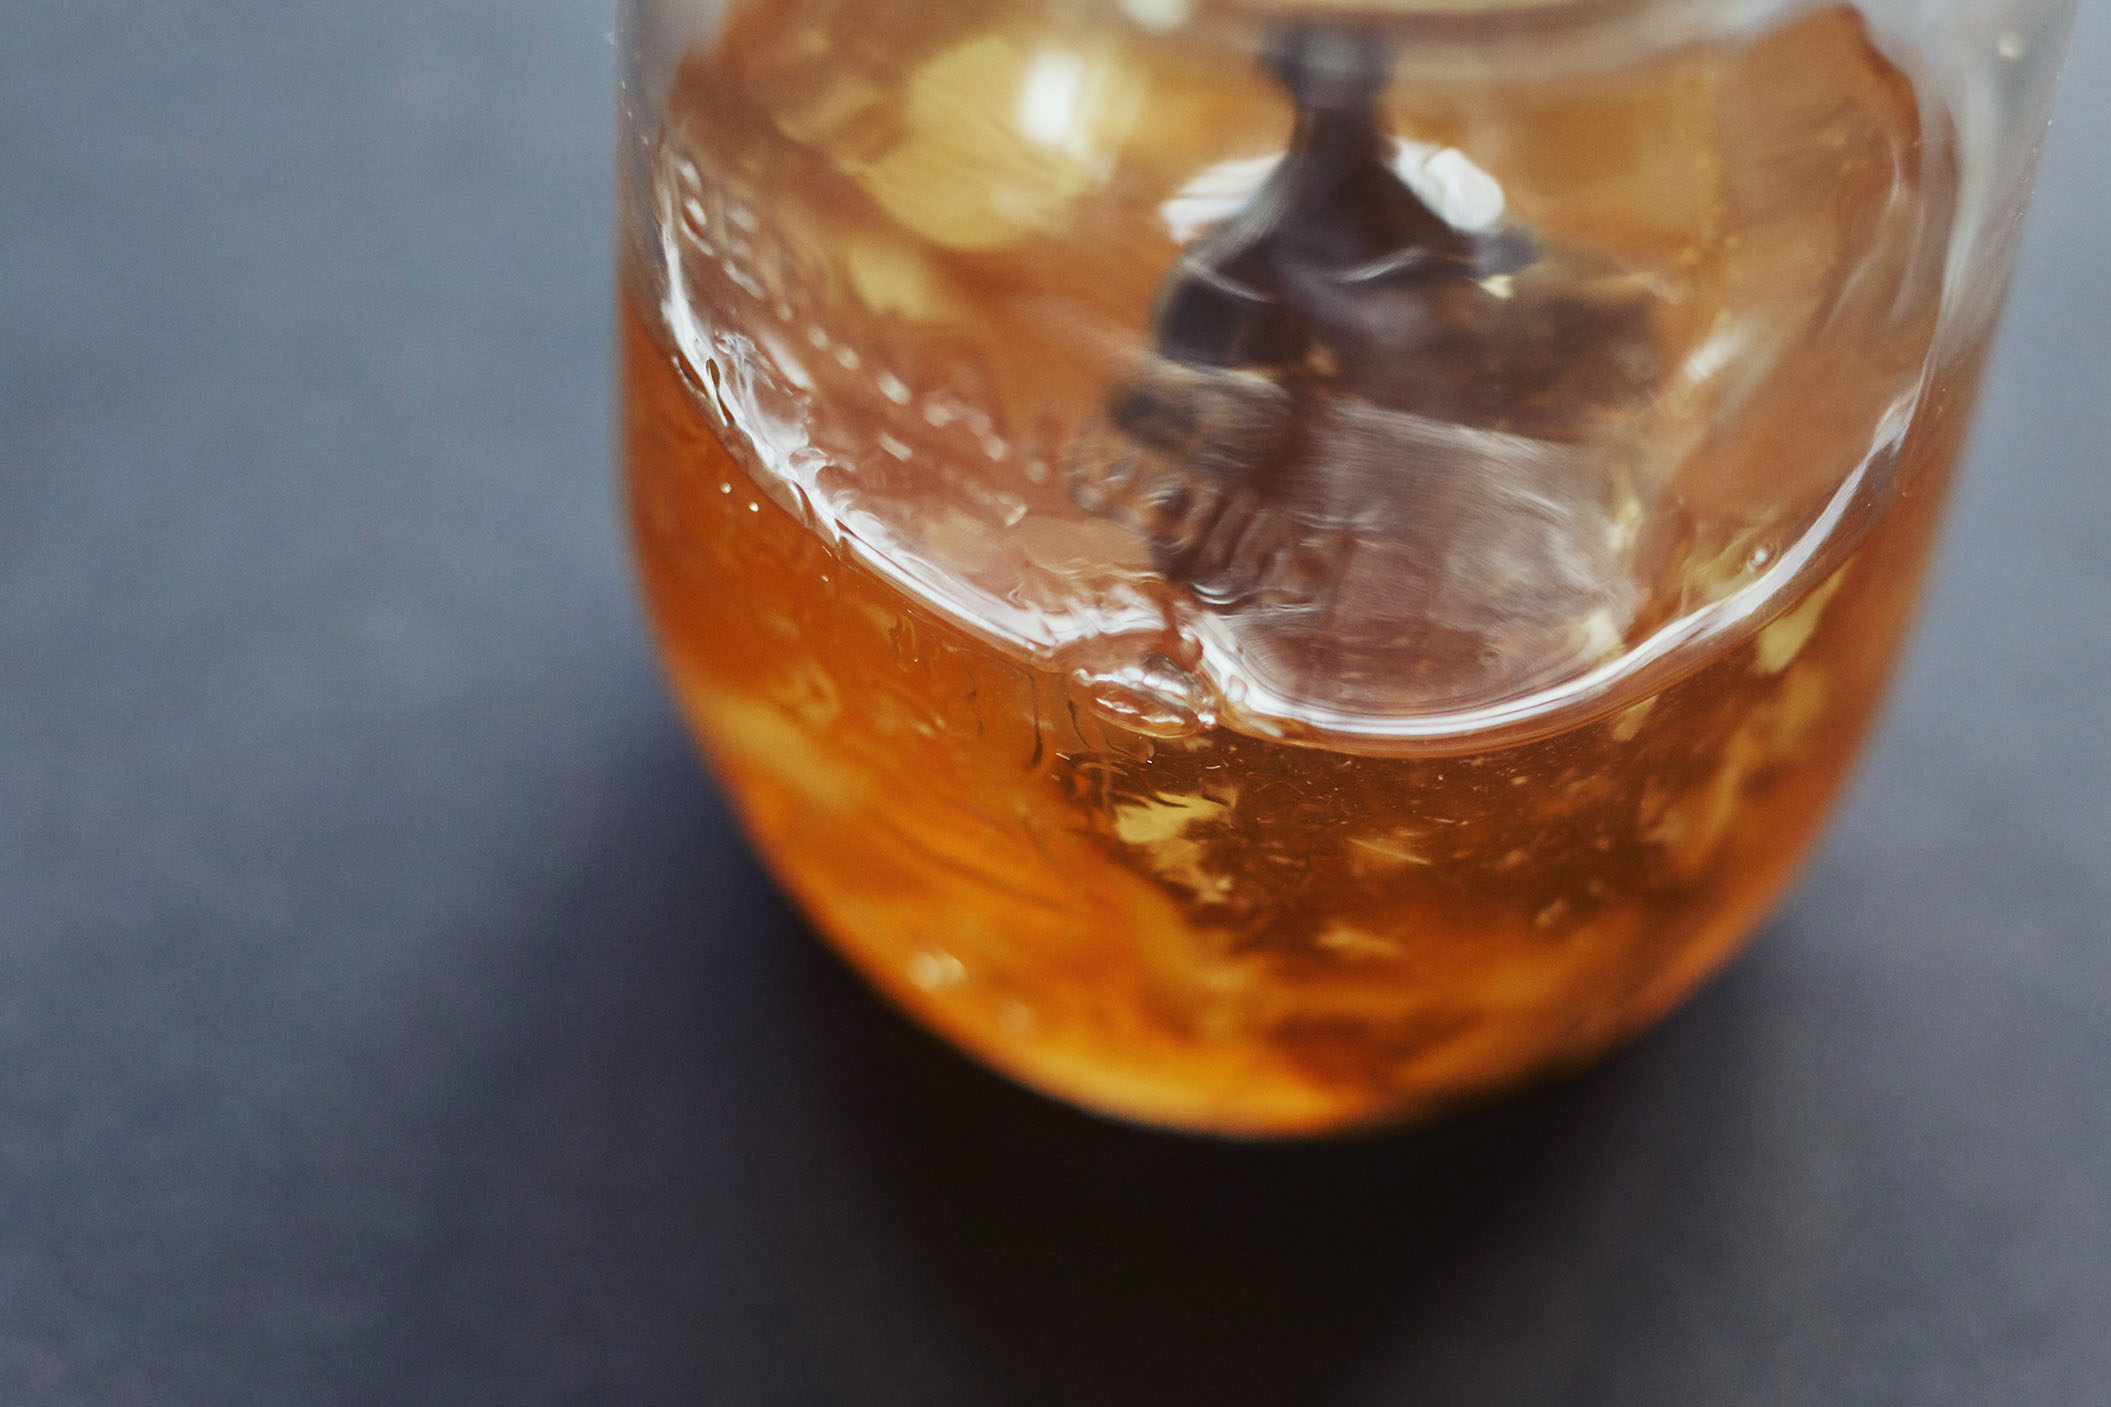
I also pickle my own ginger because I don’t like the colours and sweeteners added to commercial pickled ginger (corn syrup? Fake pink?). Here’s the recipe for the pickled ginger.
Step 8: Torch your aburi sushi
Don’t torch the sushi on a laminate or plastic countertop or cutting board. Choose something heat resistant. If the fish isn’t sashimi quality, shape the rice with clean hands and then place the fish on top so it doesn’t contaminate the rice. This will require a lot of hand-washing. Better to use sashimi-quality fish always.
But boy is using a kitchen torch fun…
I went to a local restaurant supply store and bought one for about $35, then spent $15 on three butane canisters, which are sold separately. It was easy to use, though I’d already practiced on two trays of crème brûlées during a catering gig years ago. This is highly addictive. I now want to torch everything (food).
Step 9: Sanitize counter with soap and vinegar.
Sticky rice is called sticky rice for a reason. It gets everywhere. And all that fish you have on your hands, while sashimi quality now, will not be sashimi quality tomorrow when you don’t even realize that it sprayed across the countertop and you didn’t wipe it up. So clean your counters, floors, towels and appliances well. Wash cutting boards and knives as soon as you’re done with them (though you should eat the nigiri immediately, as Jiro would want you to.
Step 10: Use a kitchen torch to caramelize any fruit you like for dessert
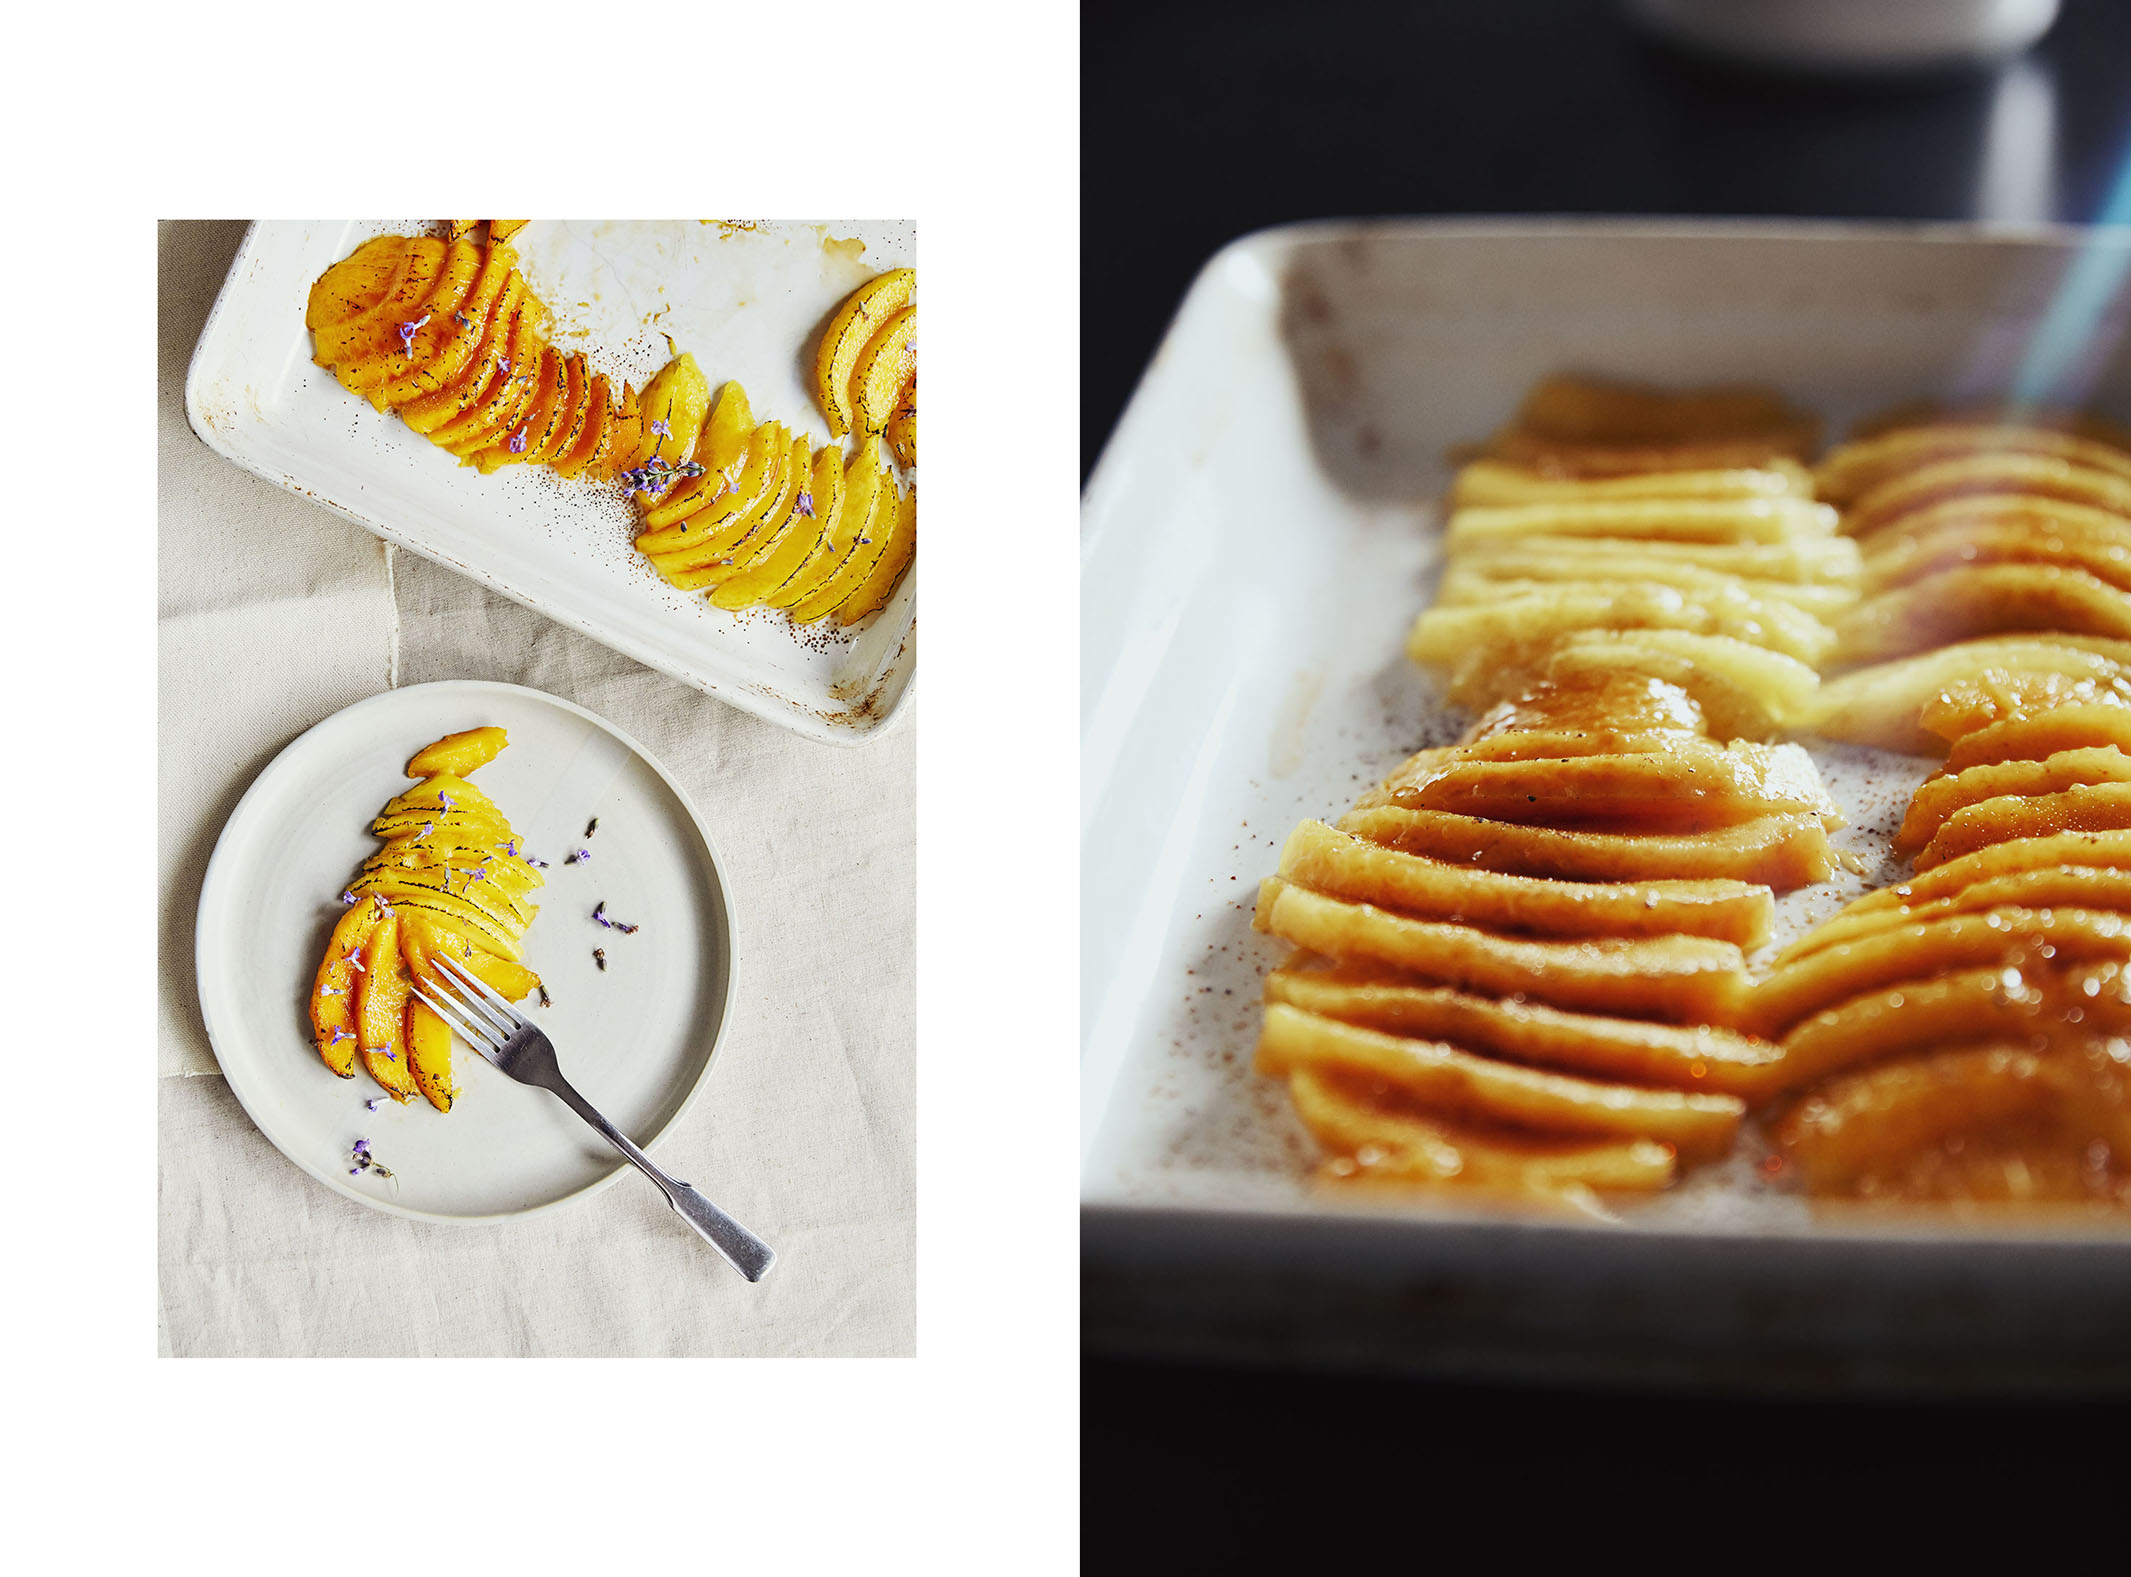
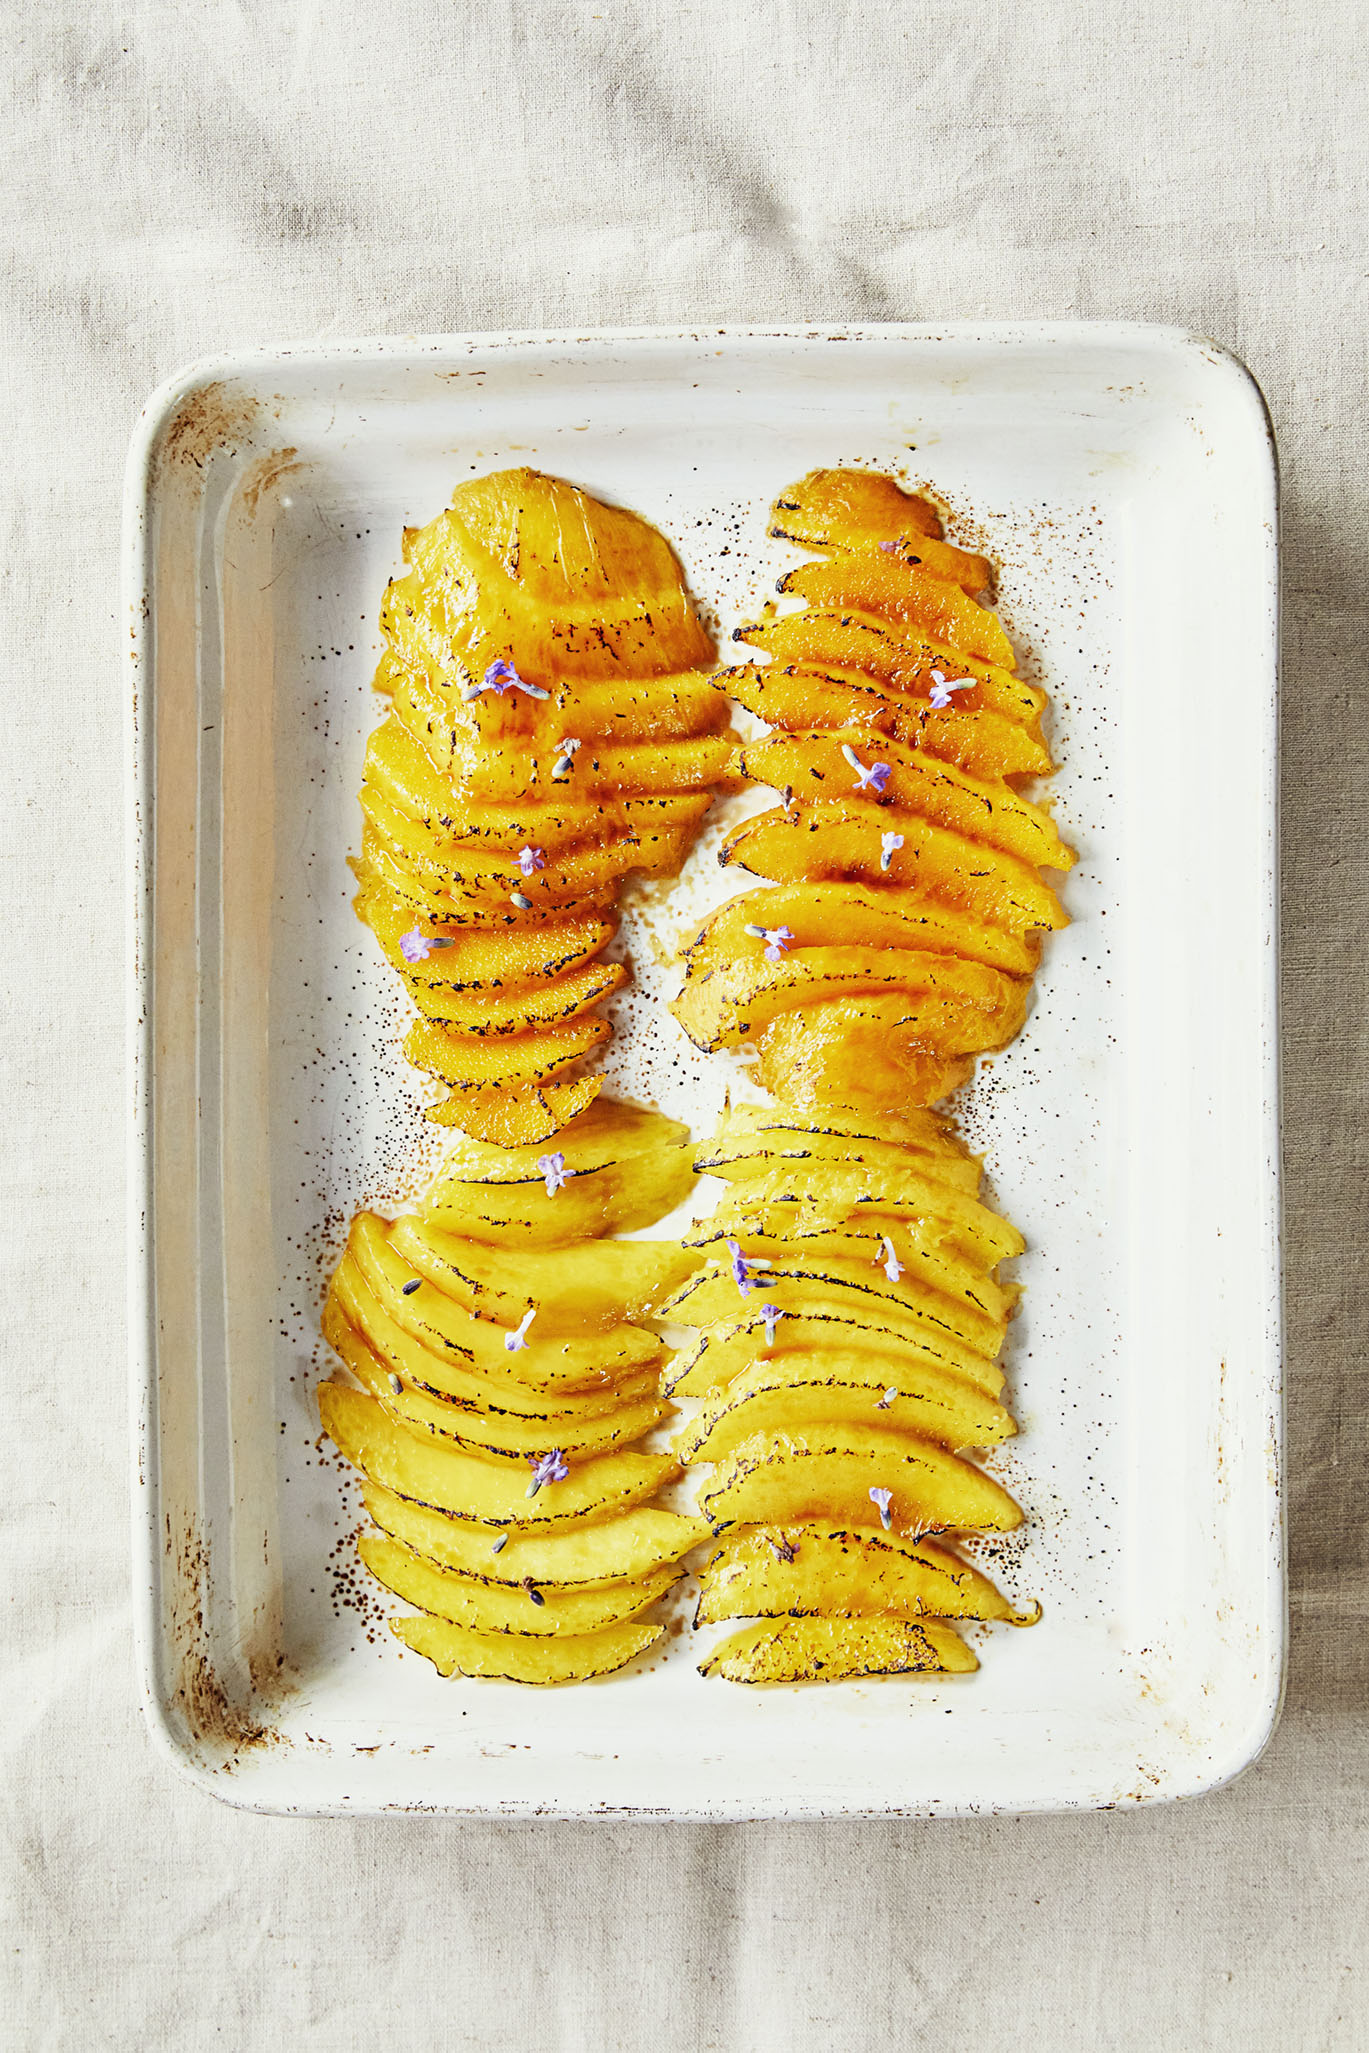
Dessert isn’t a big thing post-meal in Japan. Sweets come at other times of day (green tea pastries, red bean rice cakes), but in honour of the oranges you sometimes get in sushi restaurants, at least in North America, I usually cut up orange slices, but this time decided to cut up mango, sprinkle them with cane sugar and use my new kitchen torch to caramelize the sugar and the fruit’s juices (I had it out already for the aburi sushi). The lavender from my garden I added it mostly for aesthetics, but the flavour was nice with the sweet, sweet mango. Pineapple also torches well. And you can sprinkle with saké or Cognac before torching for a flambé effect if you like.
Good luck! Have fun! And be safe.
There’s nothing like incredibly fresh raw salmon, though I’m not sure Jiro would agree. I am sure he could blow my mind with any fish he prepared, though…maybe one day.
Leave a Reply