 Gardening can be hard. Don’t believe anyone who tells you otherwise. But if you’re willing to get out there every day or so and weed and water, it’s not so bad. There are, however, days when you wake up late and the sun is burning and you’re rushing to get to work and you really need to take the time to water with a watering can (to avoid getting the tomato plant leaves wet, which will burn in the hot sun… You should have gotten out a few hours earlier so you could have watered more quickly with the hose). So your options are now: Are you going to be lazy and burn your tomatoes or are you going to be late for work? Neither is ideal. Generally work wins and I pray that my tomatoes will forgive me.
Sometimes I wait until I get back from work to water. Because some people in my community garden water after the heat of the day has broken. But watering later means you run the risk of having mildew grow on plant leaves, which leads to disease – and more sad tomato plants that are disappointed in me.
Then there are the dry patches in my garden, where even if I water in the morning, on a blazing hot day they’re bone dry by afternoon. I can’t use drip irrigation because I’m in a community garden. I have some mulch to stop water from evaporating, but it’s not incredibly effective. I’ve added more soil and compost with peat to retain water. And yet, thirsty tomatoes and herbs.
So I scoured the internet and the internet told me about clay pots called ollas. It’s a millenia-old idea, which appeals to me. If it ain’t broke, right? You bury sealed clay pots in the soil and fill them with water, which slowly leaches out as needed throughout the clay.
I’m so far from a DIY-type person that it’s laughable. I need supervision to use a hand drill. I have a friend that I take far too much advantage of when my dishwasher breaks/wall needs holes covered/cabinets need to be removed, toilets start dripping. I pay him in food, wine, jam and desserts. Everyone needs a friend like him.
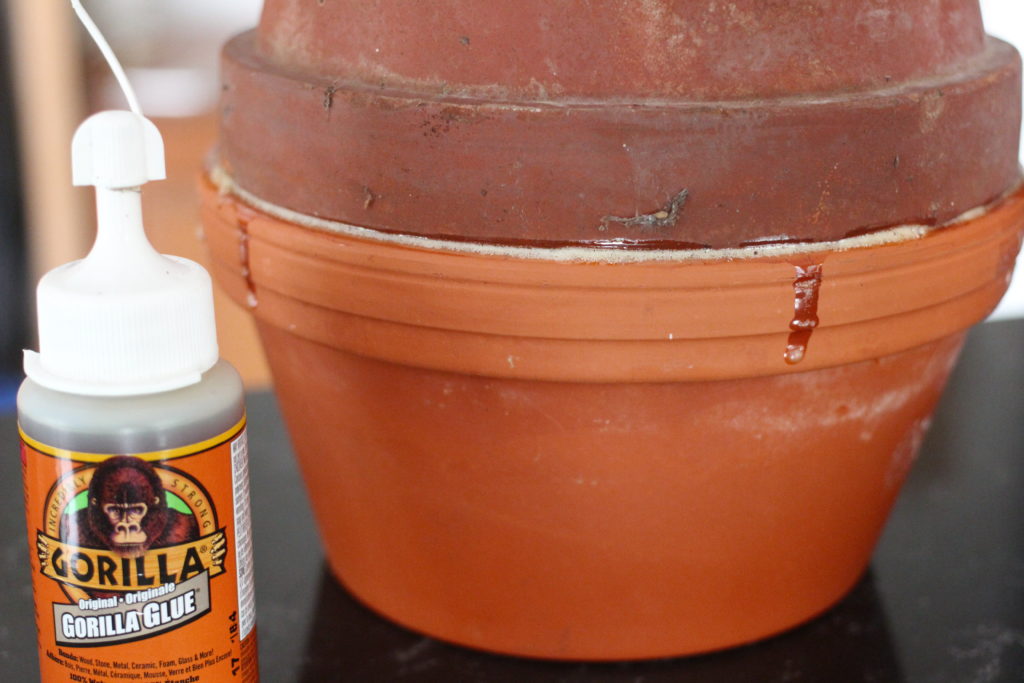
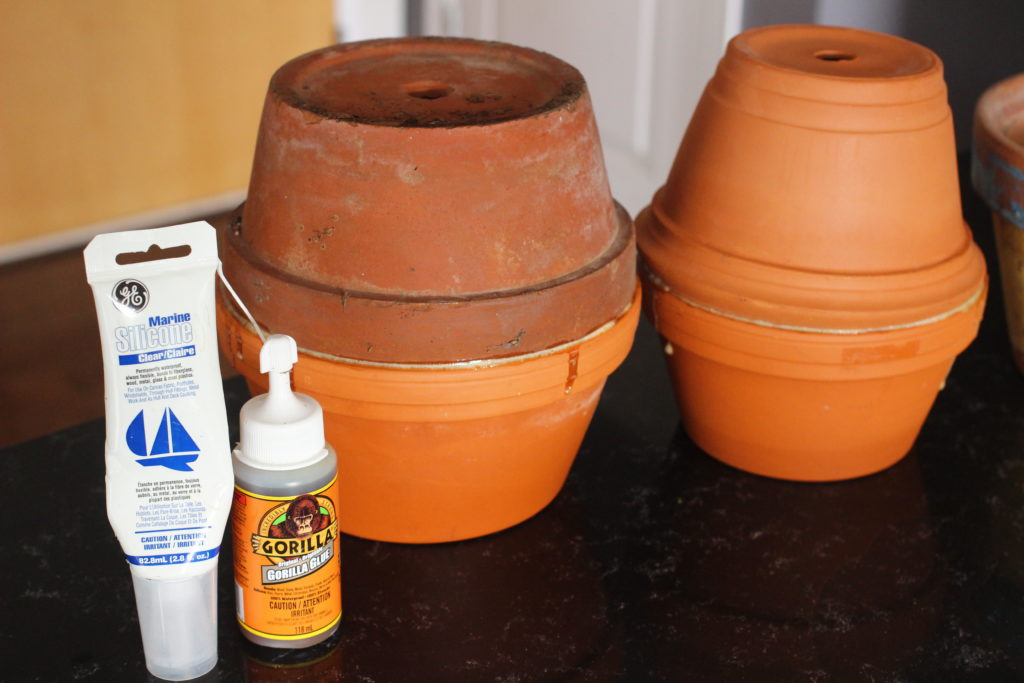
So when I read about olla pots and realized that the best way for me to make one involved gluing things, I got nervous. What the heck is Gorilla Glue? Is the silicone I have for sealing my sink the same as the instructions? Was I going to poison my tomatoes by burying it in soil? Apparently not. Both it and the glue are waterproof and shouldn’t leach. Still, just to be safe, I used the silicone inside the pot rather than to connect the two pots, to minimize contact with the soil. Anything that says you should avoid touching it and wash your hands immediately if you do sounds like a bad idea for a garden…
But I followed these instructions and now have olla pots buried in my garden. And it wasn’t super hard. Even for me. Because, as my mother would say, “Stupider people than you have done it.” She meant that in a really nice way.
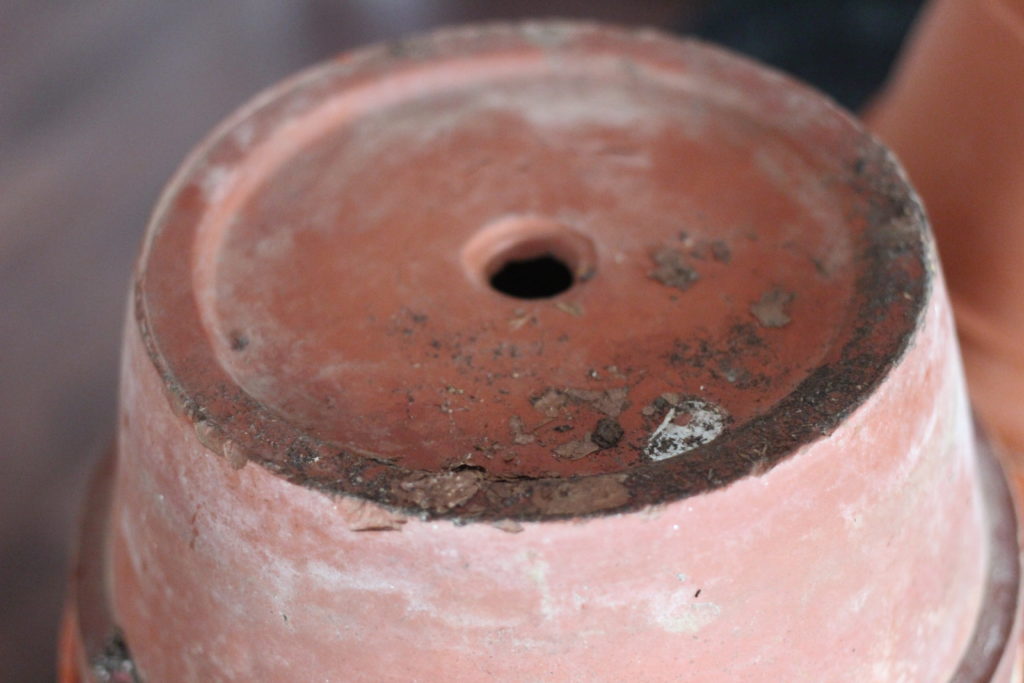
I made a call-out to friends with basements and gardens (not young people who live in apartments and kill any and all potted plants given to them upon moving to said apartments) and got five pots from a woman who’s old enough to have grandchildren but strong enough to bike an hour and a half to and from the Atwater Market because use it or lose it (a woman after my own heart). My co-gardener bought the expensive glue and told me not to waste it. And I got out that silicone, which hadn’t dried up or expired or whatever silicone does (I doubt it expires; the whole idea is that it lasts). And I went to work.
HOW TO GLUE OLLA POTS
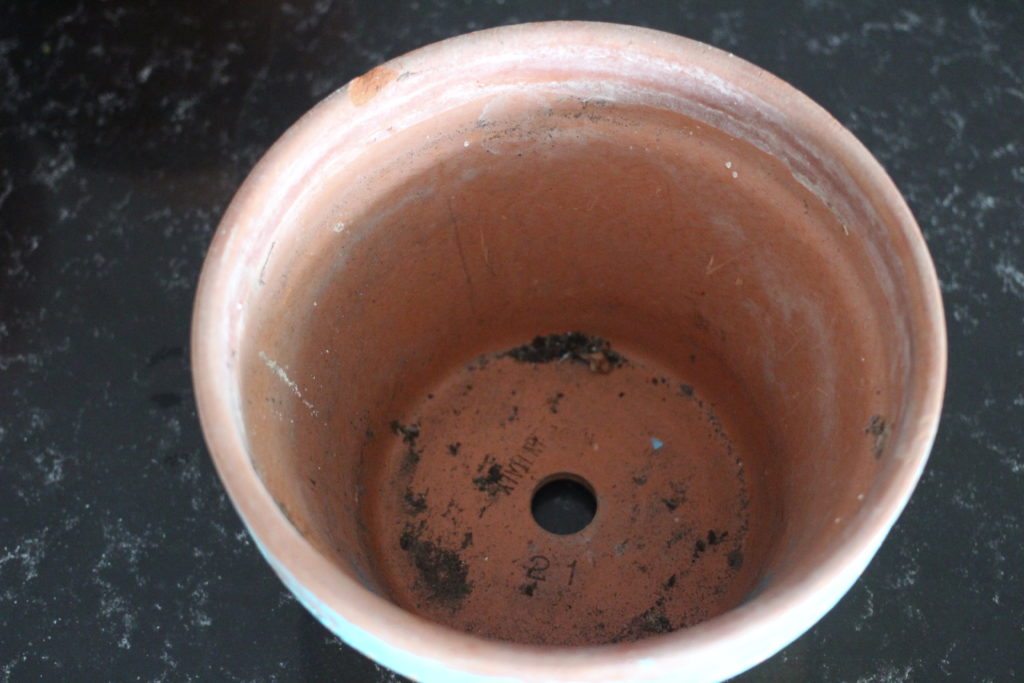
The idea behind ollas is that you glue two of them together at the thick rim parts so there’s a hole on the top and bottom. Before glueing, though, you seal the hole at the bottom of one while leaving the hole of the inverted clay pot on top open. That way you can keep filling the olla with water throughout the summer and not have the water just drain out the bottom of the lower pot.
The website where I got my instructions said you can use a tile to do this. I didn’t have any tiles, and I couldn’t use anything metal, which would rust in the soil. So finally I thought about a small glass jar, which I used silicone to glue to the bottom of the first pot.
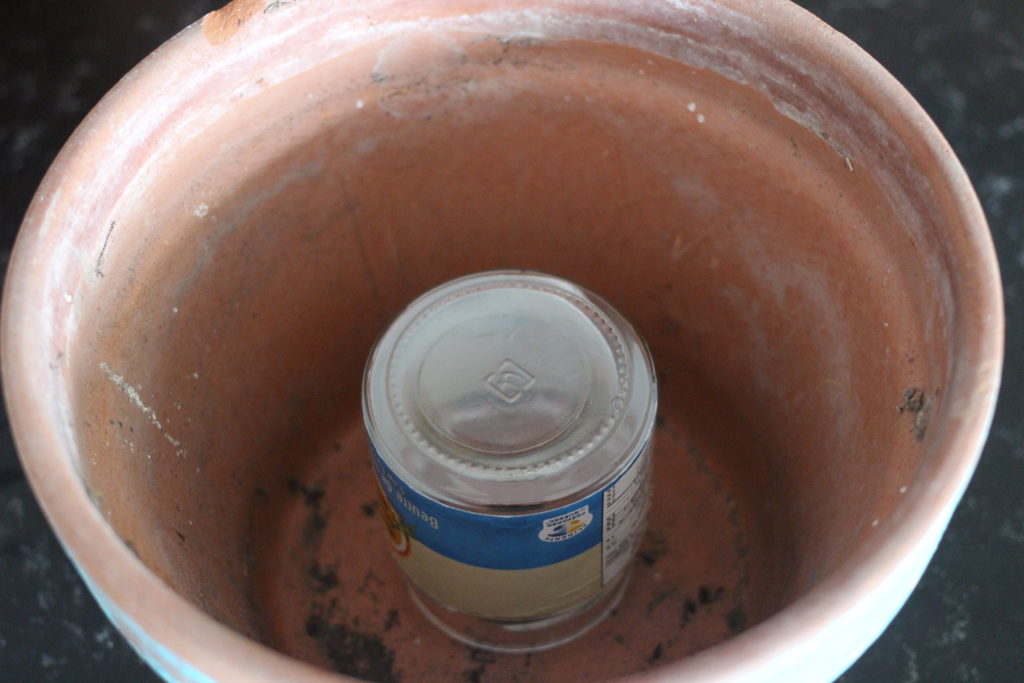
I prayed it was properly sealed and then used a thin layer of Gorilla Glue (follow the instructions on the bottle) to glue the two pots together. I weighed them down with a thick baking sheet and let it set overnight.
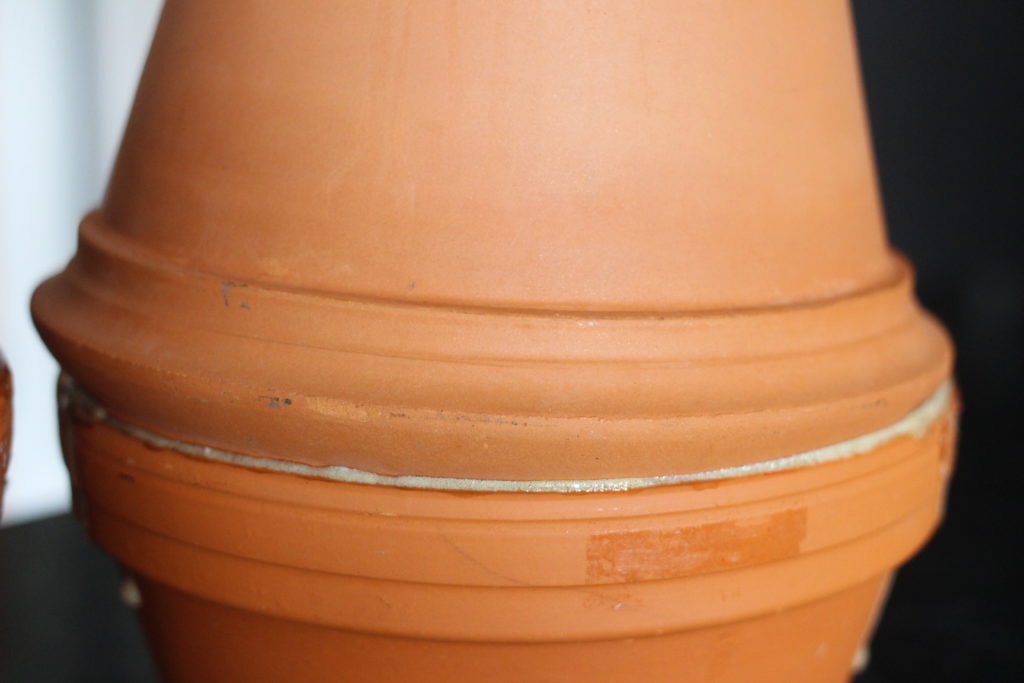
In the morning, I could see that there were some parts that weren’t totally sealed, so I filled in the spots with more glue and let it set for another 24 hours. I don’t think my roommate loved having these weird pots topped with precariously balanced baking sheets sitting on our kitchen table for two days, but he didn’t say anything. Sign of a good roommate.
The last step was testing the seal. I held my breath as I poured water into the top, unsealed hole of my ollas. No leaks! Oh, hurray! I’m not a total mess-up. I went to my garden and dug two holes in the driest areas and buried the pots up to one-inch from their tops. You don’t want to bury them fully or soil will get into the hole. Even if you put a rock on top, like I did.
And now we wait to see if those areas of the garden do better. It’s a season-long experiment – one in which I have to avoid accidentally digging into or stepping on the ollas and breaking them. This will be my challenge. But at least I have more silicone and Gorilla Glue if I ever need it.
Sealing the hole with sa glass jar seems very complicated. How abt a cork, or some concrete?
As long as it’s waterproof-sealed and something that won’t leach into the ground, that sounds good! I’m not sure if cork would degrade at some point?